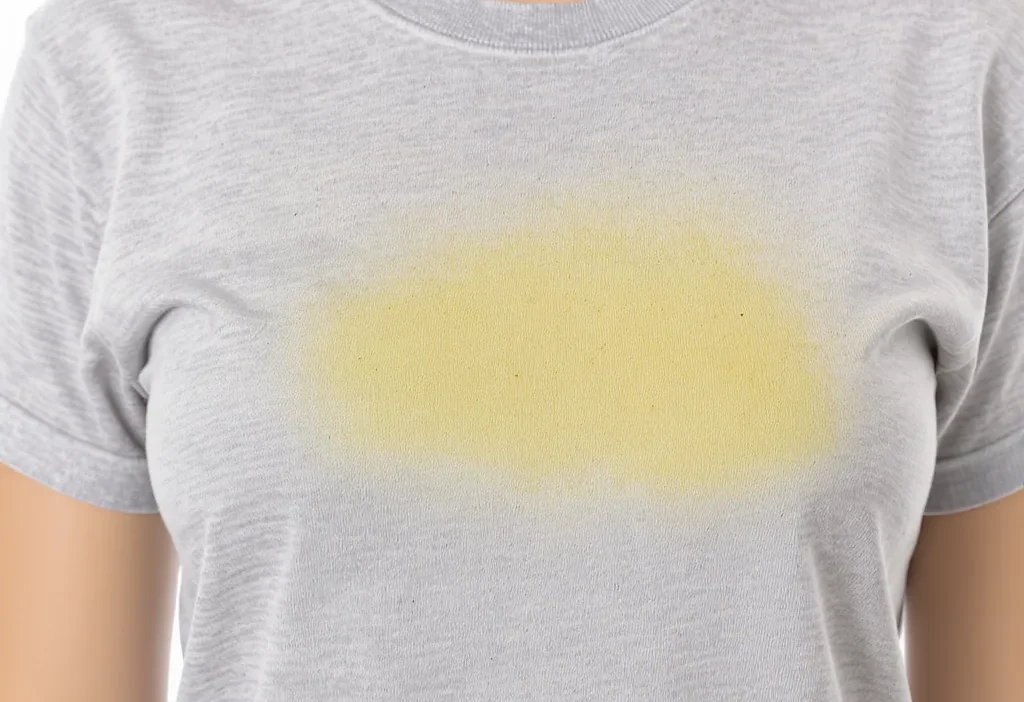
You pull a favorite colored shirt from the closet, ready to wear it, only to find those telltale yellow armpit stains have set in. It’s a frustrating moment that feels like a permanent goodbye to a wardrobe staple. The instinct to douse it in hot water and heavy detergent is strong, but that’s often what locks the discoloration in for good. The truth is, effective sweat and deodorant stain removal isn’t about a single miracle product; it’s a tailored system. Success depends entirely on treating your white cotton tee differently from your patterned silk blouse or dark workout gear. This guide cuts through the frustration with a practical, color-safe protocol organized by garment type, giving you a clear playbook to rescue your clothes without damaging their color or fabric.
To safely remove sweat and deodorant stains without damaging colors, first identify the fabric and stain type, then apply a color-safe pre-treatment like a baking soda paste or enzyme cleaner before washing in cool water. Avoid hot water and high-heat drying, as heat permanently sets the discoloration. Effective, color-safe removal requires matching your treatment to the garment’s material and dye, not using a one-size-fits-all approach.
Why Body Stains Are Different (And Why Heat Is the Enemy)
Treating sweat and deodorant stains on clothes isn’t like tackling a coffee spill. These marks are a complex cocktail of ingredients that react with fabric and heat. Sweat itself contains salts, oils (sebum), and proteins. When combined with the aluminum compounds and waxy emulsifiers found in many antiperspirants and deodorants, they create a stubborn residue that bonds to fabric fibers.
The real catalyst for disaster, however, is heat. Applying hot water or tossing a stained garment into a hot dryer acts like a permanent press for the stain. The heat essentially bakes the oils and aluminum salts into the fibers, oxidizing them and causing the dreaded yellow armpit discoloration. This is why a stain that might have been lifted easily becomes a permanent, dingy shadow after a standard hot wash and dry cycle. Understanding this chemistry is the first step to effective body stain cleaning.
The Universal Pre-Treatment Protocol: Your First Move
Before you dive into garment-specific solutions, every successful stain removal mission starts with the same safe, foundational steps. This protocol minimizes the risk of color damage and sets you up for success, regardless of whether you’re dealing with a white tee or a silk blouse.
First, if the stain is fresh, gently blot (don’t rub) any excess moisture with a clean, dry cloth. Rubbing grinds the stain deeper into the fabric. Next, and this is non-negotiable for colored items: perform a colorfastness test. Mix a small amount of your intended cleaning solution (e.g., a drop of dish soap in cool water) and dab it on an inner seam or hidden area. Blot dry and check for any color transfer or fading after a few minutes.
Your Pre-Treatment Toolkit
- Cold Water: Your best friend. Always start and end with it to prevent setting stains.
- White Vinegar or Baking Soda: Gentle, color-safe acids and alkalis that break down stain components.
- Liquid Dish Soap: Excellent for cutting through oily residues from sweat and deodorant.
- Enzyme-based Cleaner: Specifically targets protein-based stains (a component of sweat).
- A Soft-Bristled Brush or Old Toothbrush: For gentle agitation on sturdy fabrics.
Once you’ve completed these universal steps, you’re ready to apply the right strategy for your specific garment.
Garment-Specific Playbook: Treating Whites, Colors, and Delicates
This is the core of your color-safe stain treatment system. A one-size-fits-all approach will ruin fabrics or leave stains behind. Follow this decision guide to match the solution to the garment.

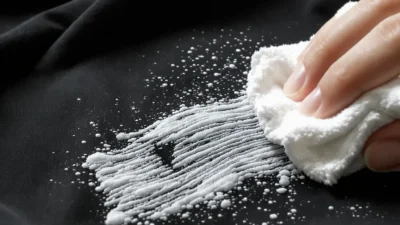
1. For White Cotton, Polyester, and Blends
With whites, you have more aggressive options, but caution with heat still applies. For fresh stains, pre-treat by rubbing a paste of baking soda and water directly into the armpit area. Let it sit for 30 minutes. For set-in yellow armpit stain removal, create a soaking solution: mix 1 part hydrogen peroxide (3%) with 2 parts water, add a squeeze of dish soap, and submerge the stained areas. Soak for up to an hour. Wash the garment separately in the hottest water the fabric care label allows with your regular detergent and an oxygen-based bleach (like OxiClean). Avoid chlorine bleach on synthetics like polyester, as it can weaken fibers and cause yellowing.
2. For Colored & Patterned Fabrics
This is where you must abandon bleach entirely. Your goal is to lift the stain without lifting the dye. A white vinegar solution is highly effective. Mix equal parts white vinegar and cold water. Spray or dab it onto the stain, gently agitate with a soft brush, and let it sit for 15-30 minutes. The acetic acid helps break down the aluminum salts and deodorant residue. Alternatively, a paste of baking soda and water works well. After pre-treating, wash the garment inside out in cold water on a gentle cycle with a color-safe detergent. Air dry is crucial—check the stain is gone before considering any dryer use.
3. For Delicates: Silk, Wool, Linen, and Fine Knits
Delicates require the lightest touch. Start with the gentlest option: club soda. The carbonation can help lift fresh stains. Blot with club soda, then rinse with cool water. For a more targeted approach, use a few drops of a gentle, clear dish soap (like Dawn) directly on the stain. Gently work it in with your fingers and rinse thoroughly under cool, running water. You can also use a specialized garment-specific cleaning product for delicates. Never wring or twist these fabrics. Instead, roll them in a clean towel to press out moisture, then reshape and lay flat to air dry away from direct sunlight.
Common Mistakes That Set Stains (And Ruin Colors)
Even with the best intentions, a few common errors can turn a salvageable situation into a permanent wardrobe casualty. Avoid these pitfalls at all costs.
- Don’t Use Hot Water Initially: As established, heat sets the stain proteins and oils. Always start with cold water for rinsing and pre-treatment.
- Don’t Rub Stains Vigorously: This spreads the stain and forces it deeper into the fabric weave, making it harder to remove. Always blot gently.
- Don’t Apply Chlorine Bleach Directly to Stains on Colors: This will strip the dye, creating a bleached spot that’s worse than the original stain. It’s also harsh on synthetic fibers.
- Don’t Overload on Detergent: Excess detergent doesn’t rinse out fully, leaving a residue that can attract more dirt and dull colors over time.
- Don’t Use the Dryer Before Checking: The high heat of a dryer is the final nail in the coffin for a lingering stain. Always air dry until you are 100% certain the stain is gone.
Prevention: Building Habits to Stop Stains Before They Start
The most effective laundry solution for stains is to prevent them from forming in the first place. Integrating a few simple habits can dramatically extend the life and look of your clothes.
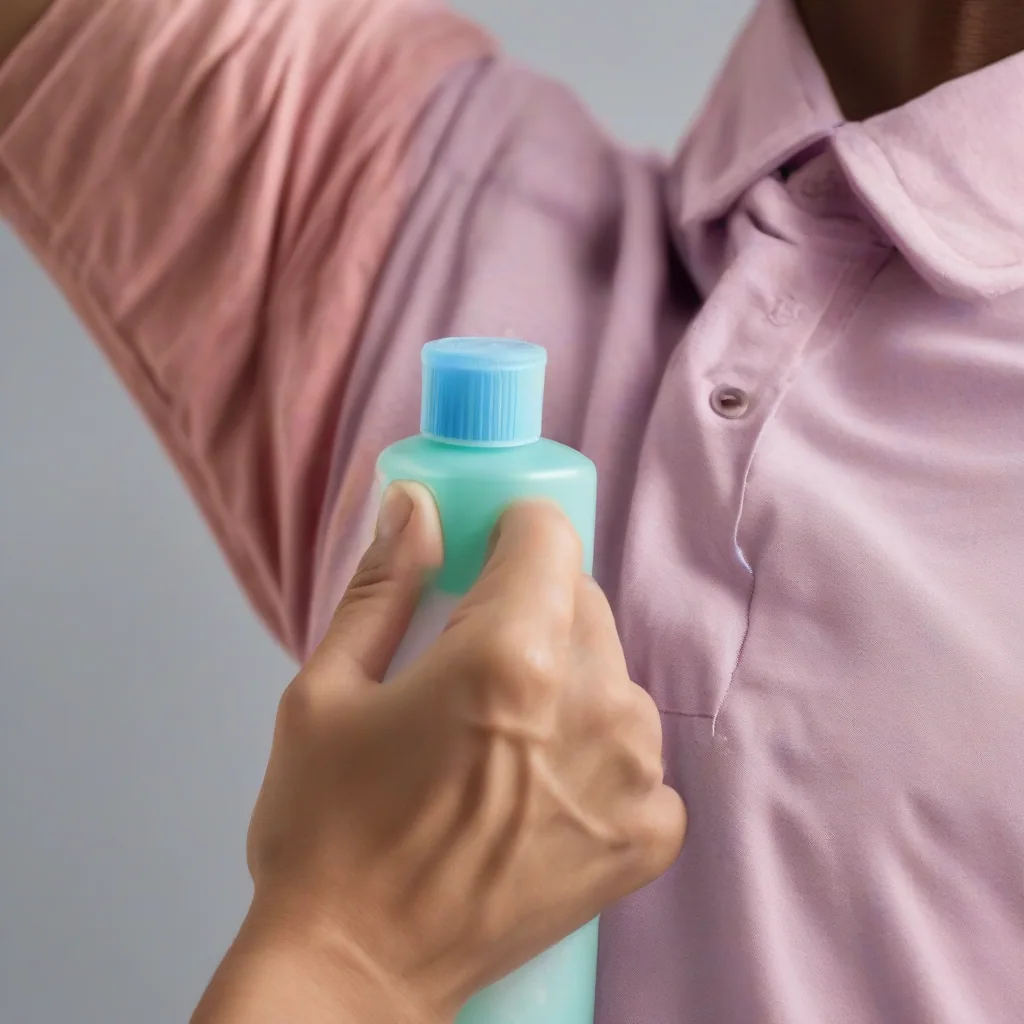
First, manage deodorant application. Apply antiperspirant at night if possible, as it’s more effective when you’re less active, and always let it dry completely before getting dressed. This minimizes the transfer of waxy residue to your clothing. For an extra layer of protection, consider wearing a thin, breathable undershirt, especially with dress shirts or delicate fabrics.
Post-wear care is also key. After sweating, give the underarm area of your garment a quick rinse with cool water before tossing it in the hamper. This simple step flushes out salts and oils before they set. Finally, be mindful of fabric choices. While natural fibers like cotton are breathable, modern performance fabrics designed for athletic wear often have moisture-wicking and anti-odor properties that can resist stain buildup better over time.
Reclaim Your Wardrobe with Confidence
Conquering sweat and deodorant stains isn’t about finding a single miracle product; it’s about adopting a smarter system. By understanding why these stains set, starting with a universal pre-check, and then executing a garment-specific protocol, you move from frustrated guesswork to confident action. Remember, the enemy is always heat, and your allies are patience and the right technique for the fabric. This approach empowers you to salvage favorite pieces and maintain your wardrobe’s integrity, turning a common laundry frustration into a manageable, routine task.
To effectively and safely remove body stains, follow this core protocol: First, always blot and test for colorfastness with any new cleaner. Second, match your treatment to the garment type: use hydrogen peroxide soaks for sturdy whites, vinegar solutions for colors, and gentle dish soap for delicates. Third, wash in cool water and air dry until the stain is verified gone. The cardinal rule throughout is to avoid heat, which permanently sets stains. This systematic, fabric-aware approach is the key to successful yellow armpit stain removal and preserving your clothes.