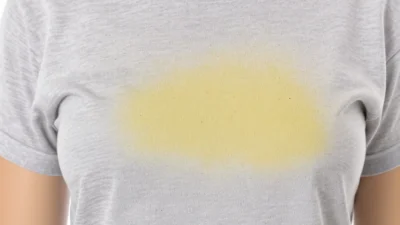
You pull a shirt from the laundry, ready for a fresh start, only to find the ghost of last week’s wear still haunting the collar and cuffs—a stubborn, yellow-grey ring that refuses to budge. This isn’t a sign of a bad wash cycle; it’s a universal battle against body oils, sweat, and friction that standard detergents often lose. That persistent grime is a mix of sebum and dead skin cells, essentially baked onto the fabric by body heat, creating a stain that laughs at a casual rinse. But before you relegate another favorite blouse or dress shirt to the “housework only” pile, take heart. Defeating these stains isn’t about magic, but method. This guide cuts through the frustration with a clear, fabric-by-fabric troubleshooting flow to finally clean collar stains on shirts and banish cuff dirt for good, turning a common laundry defeat into a simple, confident win.
The best way to clean collar stains on shirts is to pre-treat them before washing. For most cotton and polyester shirts, apply a paste of baking soda and dish soap directly to the stain, let it sit for 30 minutes, then launder as usual. For delicate fabrics like silk or wool, use a gentle enzyme-based cleaner and spot-test first. Always check the stain is gone before drying, as heat sets oil stains permanently.
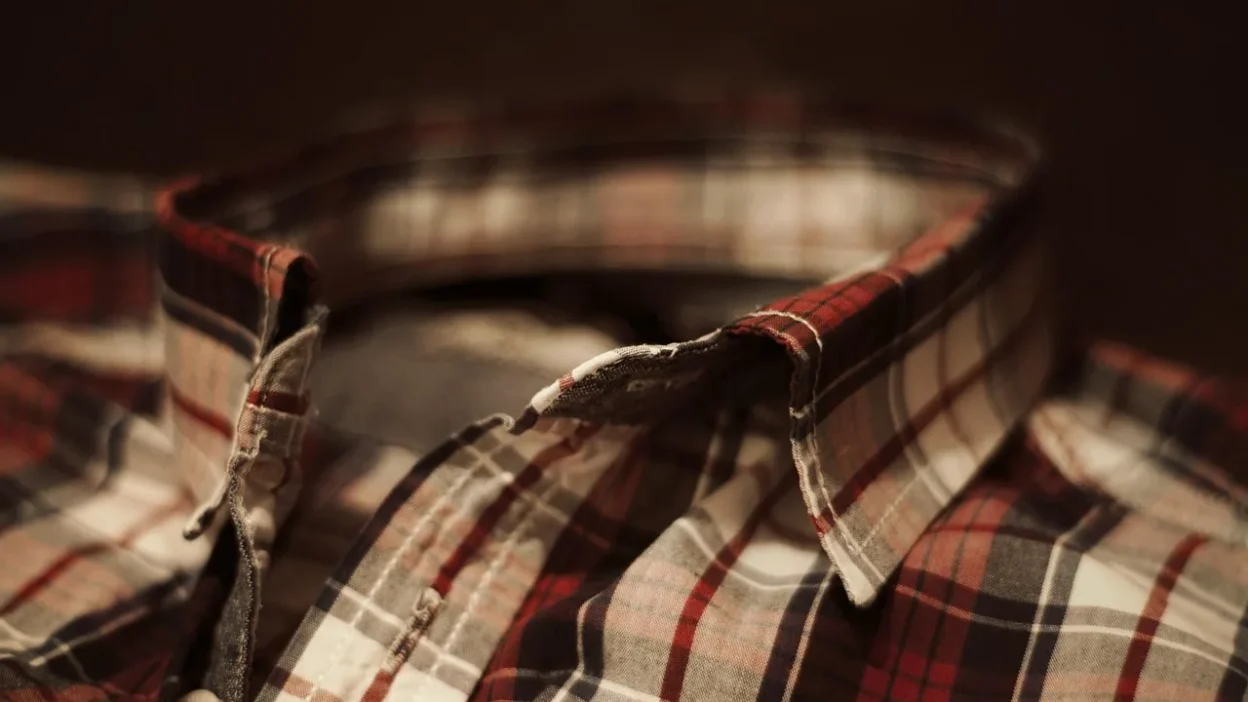
Why Collars and Cuffs Are Stain Magnets
That persistent ring of grime isn’t just dirt. It’s a specific, stubborn cocktail. Your skin naturally produces oils (sebum) and sheds dead skin cells. The collar and cuffs of your shirt are in constant, warm contact with your neck and wrists, acting like a blotter for this mixture. Throughout the day, environmental dust and lint stick to this oily base.
The real problem happens over time. Body heat and friction from movement essentially “bake” this combination into the fabric fibers. A standard wash cycle with detergent alone often fails because detergent is designed to tackle water-soluble stains, not the greasy, protein-based matrix of body oil stains on dress shirts. The oil repels the water, leaving the stain behind to darken and oxidize with each unsuccessful wash.
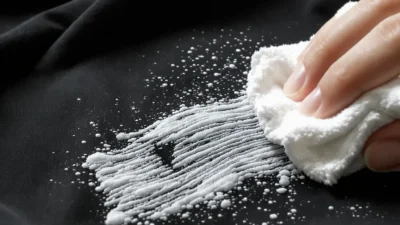
Your First Move: The Universal Pre-Treatment
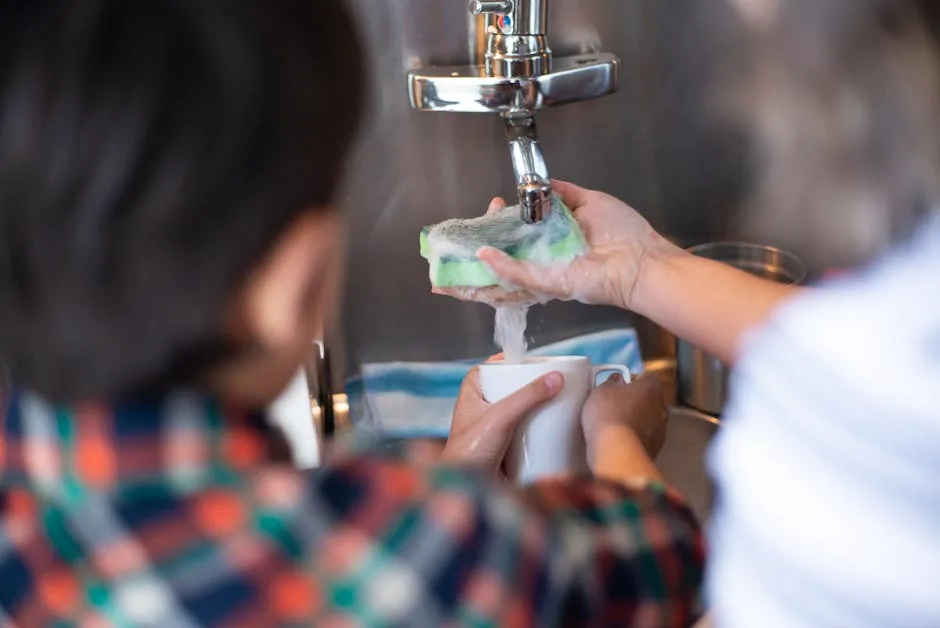
Photo by Kampus Production on Pexels
Before you even think about your washing machine, there are three non-negotiable steps. Following these drastically improves your chances of success, no matter what fabric you’re dealing with.
Do: Act quickly. If the stain is fresh, gently blot (don’t rub) any excess oil with a clean, dry cloth. Always check the garment’s care label first—it’s your roadmap. The most critical rule? Never, ever put the garment in the dryer until you are 100% certain the stain is gone. Heat from the dryer will polymerize the oils, setting the stain permanently.
Don’t: Rub the stain vigorously, as this can grind it deeper into the fibers. Don’t reach for hot water immediately; it can set protein-based stains. And don’t skip pre-treatment. Tossing a stained shirt directly into a wash is the most common reason for cuff dirt stain removal failures. Your washer needs help breaking down that oily barrier first.
Fabric-Specific Stain Removal Recipes
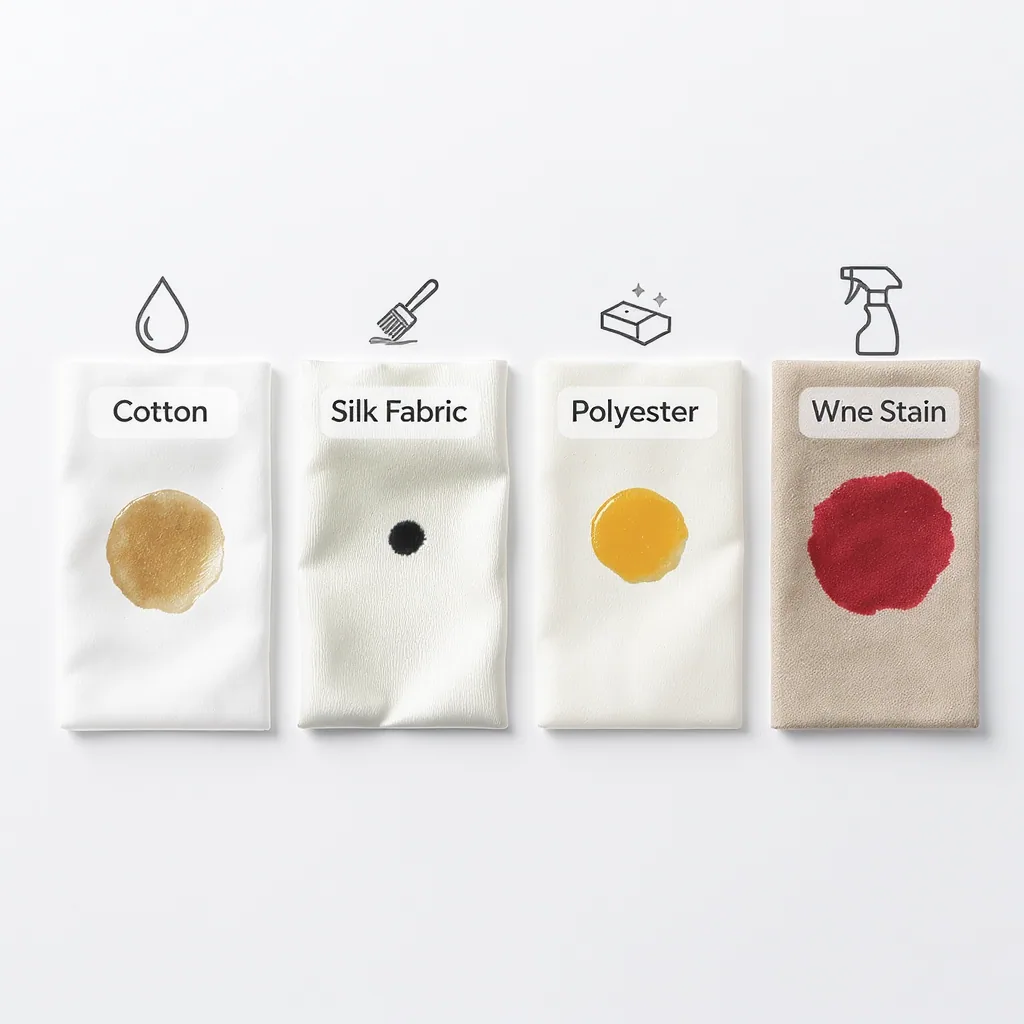
One method does not fit all. The right approach depends entirely on your shirt’s fabric. Here’s how to tackle stains based on what your collar and cuffs are made of.
For Cotton, Polyester, and Common Blends (Most Dress Shirts)
These durable fabrics can handle stronger treatments. The champion method is a simple paste: mix a tablespoon of baking soda with a few drops of blue dish soap (like Dawn or Fairy) to form a spreadable consistency. Dish soap is a degreaser designed to break down oils. Apply the paste directly to the stain, working it gently into the fabric with an old toothbrush. Let it sit for at least 30 minutes, or even overnight for old stains, then launder in the warmest water safe for the fabric. For extra power on white cotton, you can make a paste of 3% hydrogen peroxide and baking soda.
For Delicates: Silk, Rayon, and Linen
These fabrics are more temperamental and require a gentle touch. Your best bet is an enzyme-based pre-treatment spray or gel, like those marketed for “bio” or “persil” type detergents. Enzymes break down the protein (dead skin cells) in the stain. Always, always spot-test on an inner seam first. Apply the product, let it sit for 15 minutes, then hand-wash or use a delicate machine cycle with cold water. Avoid vigorous scrubbing.
For Wool and Blazers
Wool is especially sensitive to agitation and pH changes. For a shirt collar cleaning on wool, use a cleaner specifically formulated for wool or a very mild solution of cool water and a few drops of clear, gentle dish soap. Dab the solution onto the stain, don’t rub. Rinse by dabbing with a cloth dampened with cool water. Lay the garment flat to dry. For serious stains on a wool blazer, it’s often wisest to consult a professional cleaner.
Common Mistakes That Set Stains Permanently
Knowing what not to do is half the battle. Avoid these pitfalls to save your shirts from a grimy fate.
- Using Hot Water First: Hot water can cook proteins (like skin cells) into the fabric, making the stain harder to remove. Start with cool or lukewarm water for pre-treatment.
- Rubbing Vigorously: Scrubbing spreads the oil and grinds particles deeper into the weave. Always blot or gently dab.
- Skipping the Pre-Treatment: As mentioned, this is the #1 reason home laundry fails. Detergent needs a head start against body oil.
- Overusing Chlorine Bleach: Bleach doesn’t dissolve oils; it can actually yellow some synthetic fibers and weaken fabric, making the stained area more apparent.
- Drying Before Checking: This is the point of no return. Always air-dry the shirt after washing and inspect the stain in good light. Only use the dryer once you’re sure it’s gone.
When Home Remedies Fail: The Professional Option
Sometimes, despite your best efforts, a stain remains. This isn’t a failure—it’s a signal to escalate. If the stain has been through multiple wash-and-dry cycles, the oils have likely oxidized and set deeply.
This is when a professional cleaner is a smart investment. Tell them exactly what the stain is (body oil, sebum, etc.) and, if you know, what you’ve already tried. They have access to stronger, specialized solvents and techniques not available for home use. However, manage your expectations: even a pro may not be able to fully remove a severely set-in, old stain. The goal shifts from perfect removal to significant improvement, saving the shirt for future wear.
For more information on professional textile care standards, you can refer to resources from the textile care industry.
Keeping Your Collars Crisp for the Long Haul
Defeating collar and cuff grime requires a slight tradeoff: a few minutes of focused pre-treatment versus the frustration and cost of ruined shirts. It’s not about working harder, but working smarter by matching your method to the fabric. By understanding why these stains form, applying the universal pre-treatment rules, and using your fabric-specific “recipe,” you can tackle most stains confidently at home.
And for those truly ancient, set-in rings? Knowing when to call in a professional is just as savvy as the home remedy. With this approach, you’re not just cleaning a stain—you’re extending the life and crisp appearance of your wardrobe, one clean collar at a time.