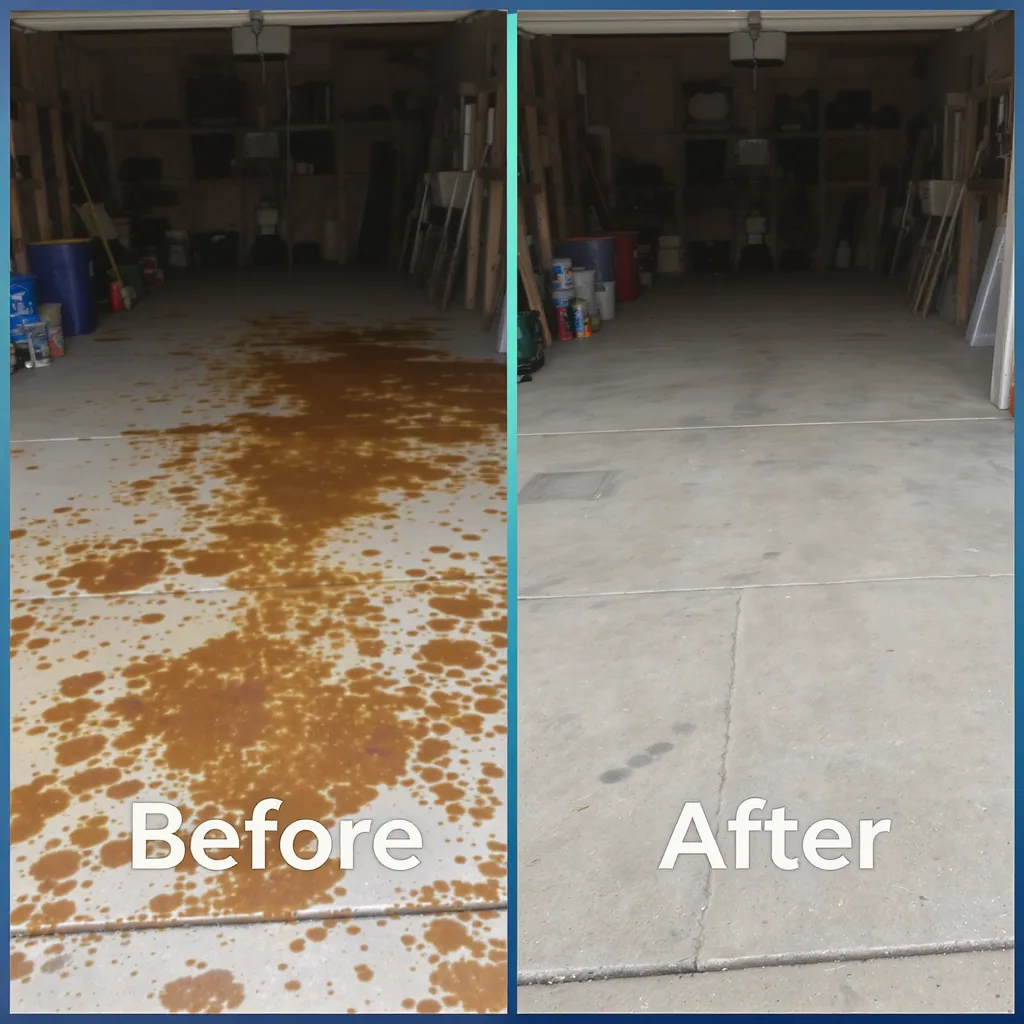
You pull into the garage, cut the engine, and there it is—a fresh, dark oil drip glistening under the workbench light. Or maybe it’s the ghost of a rust bloom seeping up from an old toolbox, or a set of stubborn black tire marks that seem painted onto the concrete. That moment of recognition, where a functional space feels a little less cared-for, is a universal homeowner experience. But here’s the good news: a stained garage floor or driveway is a solvable problem, not a permanent eyesore. The frustration usually comes from using a generic “cleaner” on a very specific stain, which is like using a hammer on a screw. This definitive garage floor stain removal guide takes a different, more effective approach: a protocol playbook. We’ll move past one-size-fits-none advice and give you targeted, step-by-step methods to correctly identify and conquer oil, rust, and tire marks, restoring your concrete with clarity and confidence.
The fastest way to tackle garage floor and driveway stains is to first identify the culprit—oil, rust, or tire marks—then apply a targeted cleaning protocol. For fresh oil, absorb and degrease; for rust, use an acid-based remover; and for rubber marks, a dedicated cleaner or degreaser works best. Immediate action on fresh spills makes removal vastly easier, but even set-in stains can be lifted with the right method and a bit of elbow grease.
Before You Start: The Universal Prep & Safety Protocol
Every successful driveway stain cleaning guide begins with the same, non-negotiable first steps. Rushing in with a random cleaner is a recipe for disappointment or, worse, damaged concrete. Think of this as your pre-flight checklist for any concrete garage stain removal project.
First, gear up. Put on heavy-duty rubber gloves and safety goggles. Many effective cleaners, especially for rust, are acidic and can irritate skin and eyes. If you’re working in an enclosed garage, open the door and windows for ventilation.
Next, gather your core supplies: a stiff-bristled brush (nylon or poly, not metal wire, which can scar concrete), absorbent material like cat litter or baking soda, a bucket, a garden hose with a spray nozzle, and a plastic scraper. Finally, and this is critical: always test your chosen cleaner in an inconspicuous spot. This confirms it won’t discolor or etch your specific concrete. For detailed safety information on any chemical product, always refer to its official Safety Data Sheet (SDS).
Protocol 1: Conquering Oil and Grease Stains
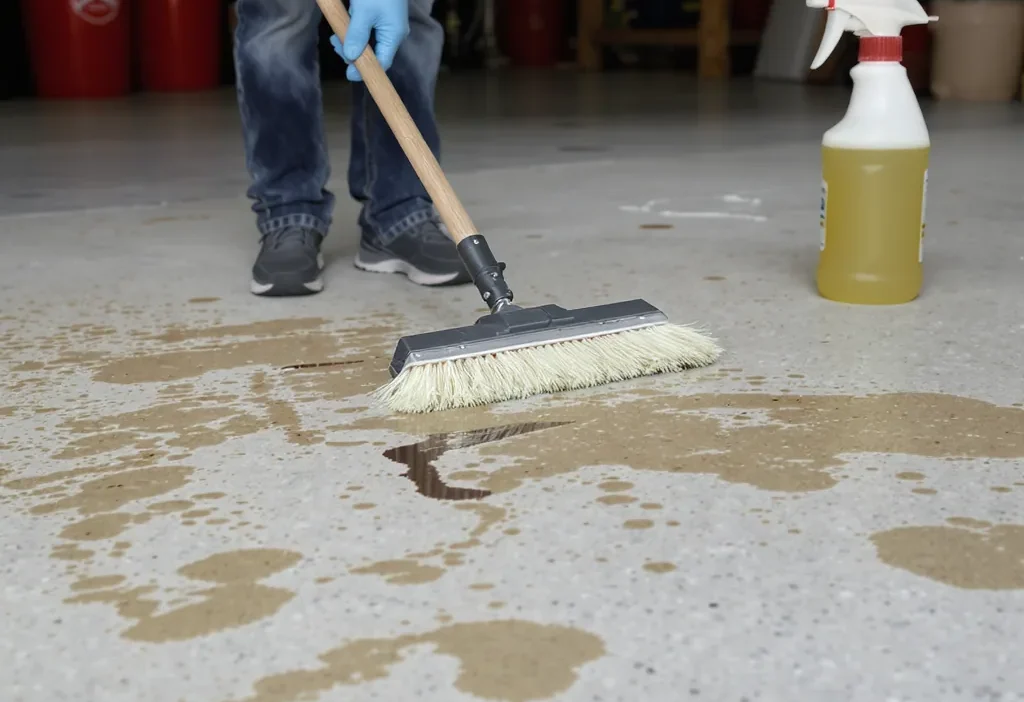
Oil is the most common offender, but its removal hinges on whether you’re dealing with a fresh spill or a dark, set-in stain. The core principle is to absorb the oil, then break down and lift the remaining residue with a degreaser.
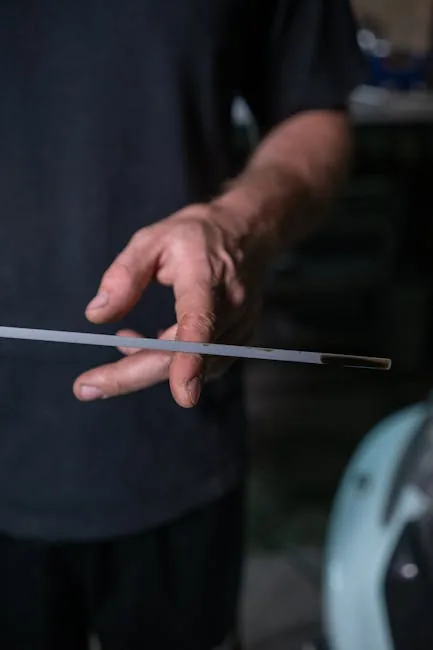
Photo by Anastasia Shuraeva on Pexels
For a Fresh Spill
Speed is your ally. Immediately cover the spill with an absorbent material like clay cat litter, sawdust, or commercial oil absorbent. Let it sit for several hours, or overnight, to soak up as much liquid as possible. Sweep it up and dispose of it properly.
For Set-In Stains
For stains that have been baked into the surface, you need a degreasing action. You have two main paths:
Option A: Heavy-Duty Commercial Degreaser. These are formulated specifically for concrete garage stain removal. Apply the degreaser liberally over the stain, following the product’s instructions for dwell time (usually 10-30 minutes). Scrub vigorously with your stiff brush, then rinse thoroughly with a strong stream of water. You may need to repeat this process for old, stubborn stains.
Option B: DIY Degreaser Paste. For a simpler approach, make a paste from a generous amount of liquid dish soap (the classic blue Dawn is a popular choice for its degreasing power) and baking soda or powdered laundry detergent. Spread this paste over the stain, let it sit for an hour, scrub, and rinse. While not as potent as industrial formulas, it’s effective for moderate stains and is readily available.
Protocol 2: Eradicating Rust Stains from Concrete
Rust stains are a different beast. They occur when iron particles—from a tool, furniture leg, or fertilizer—oxidize on damp concrete. Unlike oil, you can’t simply wash rust away; you need to dissolve it chemically. This typically requires an acid-based cleaner that chelates (binds to) the iron, allowing it to be rinsed off.
⚠️ Critical Safety Note: Acid-based rust removers require caution. Always work in a well-ventilated area, wear your full safety gear, and never mix acid with bleach, as this can create toxic chlorine gas.
Step-by-Step Rust Removal
First, sweep the area clean. Apply a commercial rust remover (often containing oxalic or phosphoric acid) directly to the stain. Alternatively, you can make a paste with lemon juice and salt or white vinegar and baking soda for lighter stains. Let the product dwell according to the label, usually 10-20 minutes. You should see the stain begin to lighten. Scrub gently, then rinse extremely thoroughly with water. Neutralizing the area with a baking soda and water solution after using a strong acid is a good practice. For deep, persistent rust, a second application may be necessary.
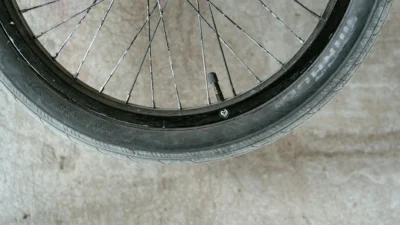
Protocol 3: Removing Black Tire Marks and Rubber Scuffs
Those black streaks from tires or scuffs from shoes aren’t grease—they’re melted rubber and carbon polymers transferred onto the concrete under heat and pressure. This means degreasers alone often aren’t enough. You need an abrasive action or a solvent designed to break down the rubber.
The most straightforward method is to use a cleaner specifically labeled for tire mark removal. Spray it on, let it penetrate for a few minutes, and scrub. For a more hands-on approach, create a cleaning paste using a degreaser or all-purpose cleaner mixed with an abrasive like baking soda or fine sand. Apply the paste and scrub in a circular motion with your stiff brush. For light, surface-level scuffs, a melamine foam “magic eraser” can work wonders with just water.
Pro Tips for Stubborn Rubber Marks
- Heat Helps: On a sunny day, let the stained area warm up; the heat can soften the rubber, making it easier to scrub.
- Go Gradual: Start with the least aggressive method (soap and water) before moving to dedicated cleaners or abrasive pastes.
- Pressure Wash: For large areas or deeply embedded marks, a pressure washer on a low-to-medium setting after applying a cleaner can be the final, effective step.
The 5 Most Common Garage Floor Cleaning Mistakes (And How to Avoid Them)
Even with the right intentions, it’s easy to undermine your own efforts. Here are the frequent missteps people make during concrete garage stain removal and how to sidestep them.
1. Using the Wrong Cleaner for the Stain
The Mistake: Dousing a rust stain with a degreaser, or scrubbing a tire mark with just soap. The Consequence: Little to no improvement, wasted time and product. The Fix: Always identify the stain first, then match your protocol, as outlined in this guide.
2. Skipping the Test Patch
The Mistake: Assuming a cleaner is safe for all concrete. The Consequence: Permanent discoloration or etching of your floor. The Fix: Spend two minutes testing any new cleaner in a hidden corner, like behind the water heater.
3. Insufficient Rinsing
The Mistake: A quick splash after scrubbing. The Consequence: Cleaner residue is left behind, which can attract more dirt or, in the case of acids, continue to react with the concrete. The Fix: Rinse the area thoroughly with a strong stream of water for at least 30-60 seconds.
4. Using a Wire Brush on Concrete
The Mistake: Grabbing a metal wire brush for extra scrubbing power. The Consequence: You scratch the concrete surface, creating tiny grooves that will trap dirt and future stains even more easily. The Fix: Use only stiff nylon or polypropylene brushes designed for concrete.
5. Expecting a One-Step Miracle
The Mistake: Giving up after one attempt on a deep, old stain. The Consequence: Declaring the stain “permanent” when it might just be persistent. The Fix: Be patient. Often, multiple applications with proper dwell time and agitation are needed. Let the chemistry do its work.
Keep It Clean: Smart Prevention for Your Garage and Driveway
The best driveway stain cleaning guide is one you rarely need to use. Once you’ve put in the work to clean your concrete, a few simple habits can keep it looking good for far longer. For garage floors, consider using absorbent drip pans under your vehicle’s engine and transmission. For driveways, quickly rinse away fertilizer spills or metal shavings from yard work before they have a chance to oxidize into rust.
The single most impactful step you can take is to apply a quality concrete sealer. A penetrating sealer creates an invisible barrier that repels oil, water, and other contaminants, making future cleanups as simple as a quick wipe. Finally, adopt a “clean as you go” mentality. Addressing a fresh spill immediately with cat litter takes two minutes; removing a set-in stain takes an afternoon. A clean, functional garage or driveway isn’t just about aesthetics—it’s about maintaining a valuable part of your home.
This guide is built on one core principle: identify the stain, then apply the correct protocol. Here’s a quick-reference checklist of the key actions for each major stain type:
- Oil & Grease: Absorb fresh spills immediately. Attack set-in stains with a commercial degreaser or a DIY dish soap paste, scrub, and rinse thoroughly.
- Rust: Use an acid-based rust remover (with proper safety gear). Allow dwell time, scrub gently, and rinse extremely well to neutralize the area.
- Tire & Rubber Marks: Use a dedicated rubber mark remover or an abrasive paste. Scrub with a stiff nylon brush; consider a magic eraser for light scuffs.
- Universal Rule: Always prep safely, test cleaners in a hidden spot, and avoid wire brushes that can damage concrete.