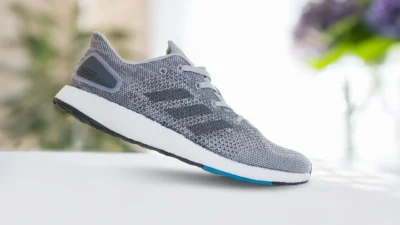
There’s a special kind of heartbreak reserved for the moment you look down and see your pristine white sneakers marred by a dark scuff, a stubborn grass stain, or a splatter of dried mud. That crisp, clean look feels instantly defeated. But before you relegate them to the back of the closet, know this: most common stains are not a death sentence for your favorite kicks. The key to effective white sneaker stain removal isn’t a single magic potion, but a targeted strategy. This guide cuts through the noise to give you immediate, actionable solutions for the specific offenders—scuffs, grass, and dirt—so you can restore your shoes with confidence, not guesswork.
To clean white sneaker stains effectively, first identify the stain type and your shoe’s material. For general dirt, a soft brush and mild soap work best; for grass, a vinegar solution can break down chlorophyll; and for scuffs, a gentle abrasive like a magic eraser or baking soda paste is key. Always test cleaners in a hidden spot first. With the right approach, you can tackle most marks and keep your sneakers looking fresh.
Your First-Aid Kit: What You’ll Need
Before you start, gather your supplies. The good news is you likely have most of these at home already. This isn’t about buying expensive products; it’s about using the right tools for the job.
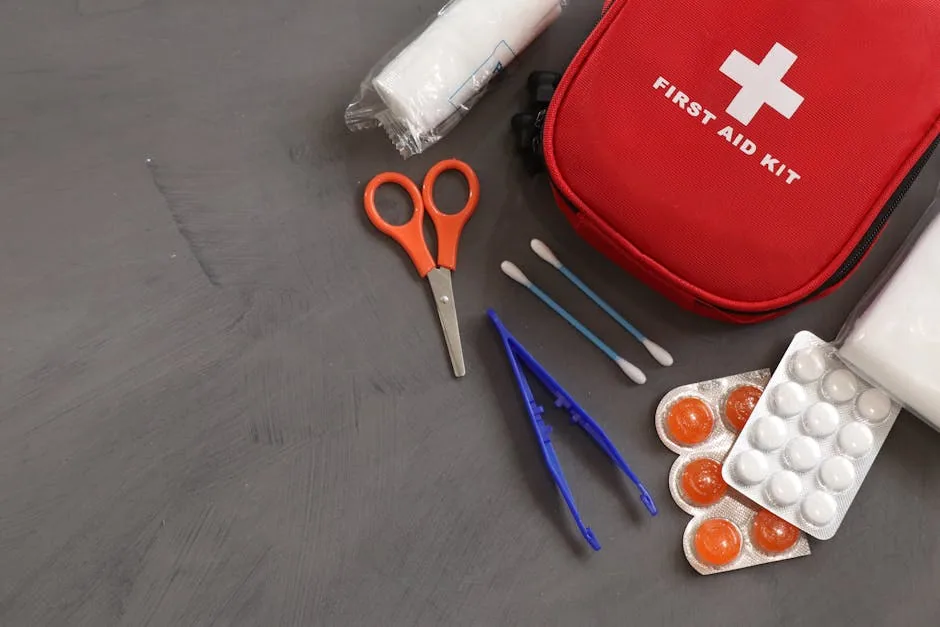
Photo by Roger Brown on Pexels
- Soft-bristle brush: An old, clean toothbrush is perfect for getting into grooves and seams without scratching.
- Microfiber cloths: For gentle wiping and drying.
- Mild dish soap: A degreaser that’s tough on dirt but gentle on materials.
- White vinegar: A natural acid that breaks down stubborn organic stains like grass.
- Baking soda: A mild abrasive for creating a paste to lift scuffs.
- Magic Eraser (melamine sponge): A gentle abrasive for rubber midsoles and scuff marks. Use with a light touch.
- Cotton swabs: For precision work on small stains or logos.
- Lukewarm water: Hot water can set stains or damage adhesives.
Optional/Advanced: A specialized sneaker cleaning kit can be convenient, and a leather conditioner is wise for restoring moisture to leather sneakers after a deep clean.
Stain-Specific Solutions: A Targeted Guide
Here’s the core of it: treat the stain, not just the shoe. Throwing the same method at every mark is a recipe for frustration. Follow this targeted guide for the three most common offenders.

Photo by Greta Hoffman on Pexels
For Dirt and Mud Stains
Dirt is the most common issue, and prompt action is your best friend. The goal is to lift the particles without grinding them deeper into the fabric or leather.
- Let it dry. Counterintuitively, don’t scrub wet mud. Let it dry completely, then tap the shoes together or use a dry brush to knock off the loose, caked-on dirt.
- Create a soapy solution. Mix a few drops of mild dish soap into a bowl of lukewarm water.
- Brush gently. Dip your soft-bristle brush into the solution, wring it out so it’s damp, not dripping, and gently scrub the stained areas in a circular motion. For canvas, you can be a bit more vigorous; for leather, be extra gentle.
- Wipe and repeat. Use a clean, damp microfiber cloth to wipe away the soapy residue. If the stain persists, repeat the process. Avoid soaking the entire shoe.
For Grass Stains
Grass stains are tricky because of the chlorophyll and pigments. A simple soap and water might not cut it. This is where a little chemistry helps for effective grass stain removal from sneakers.
- Start with soap. Try the dish soap method above first. Sometimes, if the stain is fresh, this is enough.
- Apply a vinegar solution. If the green tinge remains, mix one part white vinegar with two parts water. Dampen a cotton swab or corner of a cloth with the solution and dab it directly onto the stain. Let it sit for 5-10 minutes to break down the chlorophyll.
- Gently agitate. Use your soft brush to gently work the area. You should see the green color transferring to your cloth.
- Rinse thoroughly. Use a clean, water-dampened cloth to remove all vinegar residue, as the acid can degrade materials over time if left on.
For Scuffs and Rubber Marks
These are surface-level marks, often on the rubber midsole or toe cap, and they respond well to gentle abrasion. This is the heart of white shoe scuff cleaning.
- The Magic Eraser method. Lightly dampen a Magic Eraser melamine sponge. With very little pressure, rub it over the scuff mark. The micro-abrasion will lift the mark away. Test on a small, hidden area first, as it can be too harsh on some painted or delicate surfaces.
- The baking soda paste alternative. Make a thick paste with baking soda and a tiny bit of water. Apply it to the scuff with your finger or a cloth and gently rub in a circular motion. Let it sit for a few minutes, then wipe clean with a damp cloth.
- For stubborn marks, a tiny drop of dish soap on the Magic Eraser or baking soda paste can add extra cleaning power. Always finish by wiping the area clean with water.
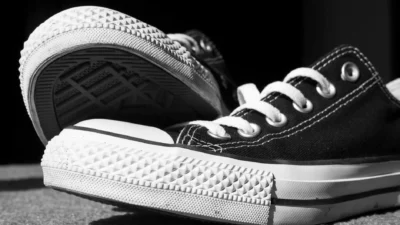
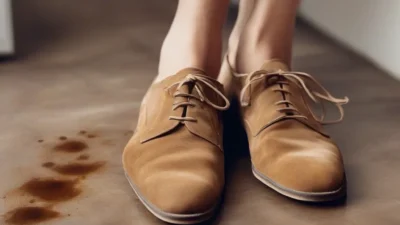
Material Matters: Adjusting for Leather, Canvas, and Mesh
Your cleaning technique must adapt to your sneaker’s material. What works for canvas could ruin suede. Here’s a quick, practical guide to keep you safe.
Do:
- For Leather: Use a damp (not wet) microfiber cloth with a drop of soap. Dry immediately with a separate cloth. Condition afterward to prevent cracking.
- For Canvas: You can use a slightly wetter brush and more agitation. They are generally the most forgiving material for stain removal.
- For Mesh: Be extra gentle. Use a soft brush with minimal water to avoid pushing dirt deeper into the weave. Blot, don’t scrub.
- For Suede/Nubuck Accents: Use a dedicated suede brush or eraser only. Avoid all liquids unless using a specialized cleaner.
Don’t:
- Don’t soak canvas shoes; it can weaken glue and cause shrinkage or warping.
- Don’t use vinegar or harsh chemicals on suede, nubuck, or some sensitive leathers.
- Don’t scrub mesh aggressively with a stiff brush, as it can fray or pull the threads.
- Don’t assume all-white sneakers are made of the same material; check the tag and treat areas accordingly.
Common White Sneaker Cleaning Mistakes (And How to Avoid Them)
In the rush to restore your shoes, it’s easy to make errors that cause more harm than the original stain. Steer clear of these common pitfalls.
- Using Bleach or Harsh Chemicals: Bleach can yellow white materials and break down fibers over time. It’s overkill and risky. Stick with mild soaps, vinegar, or baking soda.
- Soaking the Shoes: Submerging your sneakers can damage internal glues, cause insoles to warp, and lead to long drying times that promote mildew. Always use a damp cloth or brush, not a torrent of water.
- Scrubbing Too Hard with a Hard Brush: Aggressive scrubbing can fray canvas, scratch leather, and permanently scar synthetics. Let the cleaning solution do the work, and use gentle, circular motions.
- Drying with Direct Heat: Placing wet shoes in direct sunlight, on a radiator, or in a dryer can cause the materials to crack, glue to melt, and colors to yellow. Always air dry at room temperature, stuffed with paper towels to absorb moisture and maintain shape.
- Skipping the Spot Test: That miracle cleaner might discolor your specific shoe. Always apply any new solution (even vinegar or baking soda) to a small, hidden area first and wait to see if any damage occurs.
Keep Your Kicks Looking Fresh
Seeing a new stain on your white sneakers is always a moment of frustration, but it’s rarely a death sentence. As you’ve seen, the process for how to clean white sneakers effectively is more about targeted action than mystery or magic. By identifying the stain, choosing the right tool from your simple kit, and respecting your shoe’s material, you can tackle most scuffs, grass, and dirt with confidence.
The key is to act promptly and patiently. Let cleaners sit, use gentle motions, and always allow for proper, air drying. Avoid the common rush-job mistakes, and your sneakers will reward you with many more miles of clean, crisp wear. So next time you see a mark, don’t despair—grab your brush and take it as a quick, satisfying maintenance task.