You pull a once-pristine white storage bin from the closet, only to find it marred by an unsightly yellow tint. Your favorite kitchen appliance or a cherished childhood toy has lost its bright luster, taking on a dingy, aged appearance seemingly overnight. This frustrating phenomenon of yellow stains on plastic is incredibly common, affecting everything from electronics and toys to household containers and furniture. The good news is that this discoloration is often reversible, and you can frequently remove yellow stains from plastic with safe, household-friendly methods. Before you reach for a harsh chemical that could melt or further damage the material, it’s helpful to understand why plastic yellows in the first place. This guide will walk you through the simple science behind plastic discoloration and provide the safest, most effective fixes to restore your items.
Yellow stains on plastic are typically caused by UV light exposure, heat, or chemical reactions like nicotine residue. The safest removal methods involve gentle, non-abrasive cleaners like a baking soda paste or diluted hydrogen peroxide, avoiding harsh chemicals that can further damage the plastic. For surface stains, a simple paste of baking soda and water often works wonders. For deeper yellowing in vintage items, a controlled process using hydrogen peroxide and UV light (the “retrobright” method) can be effective, but requires more care.
Why Plastic Turns Yellow: The Science Simplified
That unsightly yellow stain isn’t just dirt; it’s a sign of your plastic aging. The process, often called plastic discoloration, happens for a few key reasons. Understanding the cause can help you choose the right fix and manage your expectations.
The most common culprit is UV light from the sun. Over time, ultraviolet rays break down the chemical bonds in the plastic’s polymers in a process called photo-oxidation. This causes the plastic to change color, often to a yellow or brown hue. Heat accelerates this process, which is why items near windows, on radiators, or in hot attics yellow faster.
Other causes include exposure to nicotine and tar (a common issue in smokers’ homes), which leaves a sticky, yellow-brown residue. Simple oxidation from age can also cause yellowing, especially in older electronics where certain flame-retardant chemicals (like bromine) can break down and migrate to the surface.
Photo by Polina Tankilevitch on Pexels
Diagnosing Your Yellow Stain: A Quick Troubleshooting Guide
Before you start scrubbing, take a moment to diagnose the stain. This quick guide will point you toward the safest, most effective method for your specific situation.
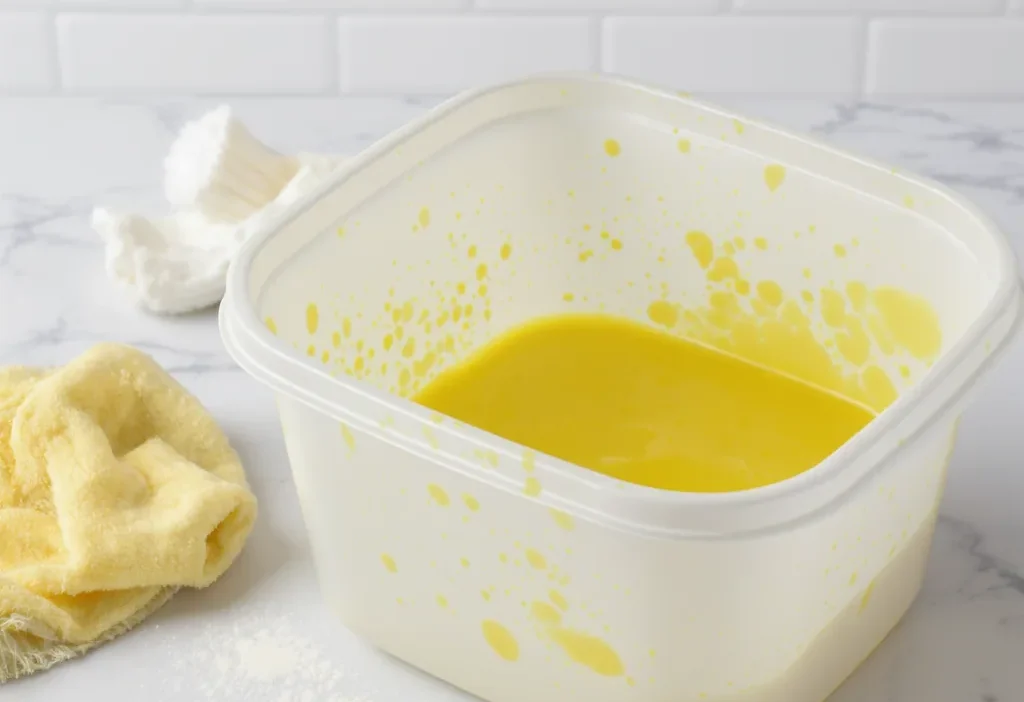
Is the stain sticky, greasy, or smell like smoke? If yes, you’re likely dealing with surface residue from nicotine, cooking oils, or other contaminants. This is good news, as surface stains are the easiest to tackle with gentle cleaning.
Is the item frequently in sunlight or near a heat source? If yes, the yellowing is probably due to UV/heat degradation. If the plastic is still sturdy and the color is uniform, it may be reversible. If the plastic is also brittle or cracked, the damage is more severe.
Is the yellowing deep, uniform, and on an old collectible or computer case? This is classic, deep-set plastic yellowing from age and UV exposure. Surface cleaning won’t touch it, requiring a restoration technique.
Your answers here will guide you: sticky stains go to the cleaning section, while deep, uniform yellowing on sturdy plastic leads to the restoration method.
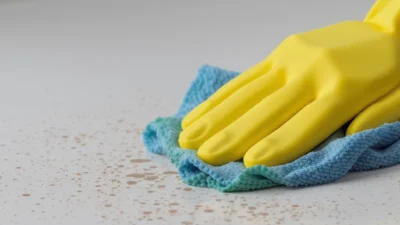
Safe & Effective Cleaning Methods (Surface Stains)
For stains caused by residue, not deep degradation, these gentle methods are your best first step. The golden rule for plastic discoloration cleaning is to start mild and always test any cleaner on a small, hidden area first.
Photo by Impact Dog Crates on Pexels
The Baking Soda Paste (For Stubborn Stains)
Baking soda is a mild abrasive that can lift grime without scratching. Make a thick paste with baking soda and a little water. Apply it to the stain with a soft cloth or an old toothbrush, gently rubbing in a circular motion. Let it sit for 5-10 minutes, then wipe clean with a damp cloth.
The Vinegar Solution (For Grease & Odors)
White vinegar cuts through grease and can neutralize odors. Mix equal parts white vinegar and water in a spray bottle. Spray it on the stain, let it sit for a few minutes, then wipe with a soft, damp cloth. This is excellent for kitchen plastics and storage bins.
Mild Dish Soap & Warm Water (Your First Try)
Never underestimate the power of a simple wash. A few drops of mild dish soap in warm water, applied with a non-abrasive sponge or microfiber cloth, can remove a surprising amount of surface grime. Rinse thoroughly and dry.
Do: Test first, use soft cloths, rinse thoroughly, and be patient with gentle rubbing.
Don’t: Use abrasive scrubbers (steel wool, harsh scouring pads), bleach, acetone, or nail polish remover, as these can melt, scratch, or further discolor the plastic.
Restoring Deep Discoloration (The Retrobright Method)
When yellowing is in the plastic itself, not on it, you need a chemical reversal. The most famous technique is “Retrobrighting,” developed by vintage computer enthusiasts to restore white plastic. It uses hydrogen peroxide and UV light to reverse the oxidation.
The process involves creating a gel or liquid with hydrogen peroxide (typically 12% volume, used with care) and an oxygen stabilizer like xanthan gum, then applying it evenly to the plastic. The item is then exposed to UV light—either sunlight or a UV lamp—for several hours. The peroxide penetrates the plastic and breaks down the yellow bromine molecules, restoring the original color.
This method is for more advanced projects on sturdy, vintage items. It requires safety precautions (gloves, eye protection) and isn’t always permanent; yellowing can slowly return over years. For a detailed, step-by-step tutorial, refer to a reputable source like the Retr0bright Wikipedia entry or dedicated hobbyist forums.
Bringing Your Plastic Back to Life
Dealing with yellow stains on plastic can be frustrating, but it’s rarely a lost cause. Remember, start by diagnosing the cause—is it surface grime or deep-set aging? Always begin with the gentlest cleaning method, like a baking soda paste or diluted vinegar, and work your way up only if needed. For cherished vintage items, the Retrobright method offers a more advanced solution.
With a little patience and the right approach, you can often restore your items to a much cleaner, brighter state. And sometimes, a little patina is just a sign of a well-loved object’s history.