You’ve just finished cleaning, and there it is—a dark, stubborn black mark marring your pristine wall or floor. That telltale rubber scuff, likely from a shoe, a piece of furniture, or a toy, feels like a personal affront to your tidy home. It’s a universal frustration that can make a simple cleaning task seem daunting, especially when you’re worried about damaging delicate paint or floor finishes. The good news? Removing rubber scuff marks is almost always simpler than it looks, and you can almost certainly erase them without a trace using items you already have at home. This guide cuts through the confusion with safe, damage-free methods tailored to your specific surfaces, turning a moment of annoyance into a quick win.
The best way to remove rubber scuff marks without damage is to start with the gentlest method—a clean pencil eraser—and work up to mild solutions like dish soap and water if needed. For most common surfaces, a simple eraser can lift the mark through friction alone, while a magic eraser (melamine foam) works wonders on painted walls. The single most important rule, regardless of your chosen method, is to always test it on a hidden spot first to ensure it doesn’t harm the finish.
Your Immediate Action Checklist
When you spot a black rubber scuff mark, your first instinct might be to grab the strongest cleaner you own. Resist that urge. The best approach is to start gentle and work your way up only if needed. This simple checklist will guide your first, safest steps.
- Identify the surface. Is it a painted wall, vinyl floor, or hardwood? Knowing this determines your tool.
- Grab a clean pencil eraser. For many surfaces, this is the gentlest and most effective tool to clean rubber scuffs. A standard white eraser works best.
- Test in a hidden corner. Before you tackle the main mark, rub the eraser lightly on an inconspicuous spot (like behind a door or under furniture) to ensure it doesn’t damage the finish.
- Gently rub the scuff. Apply light pressure and use short, back-and-forth strokes. Often, the mark will start to flake away.
- Assess and proceed. If the eraser works, continue on the visible mark. If it doesn’t budge, don’t scrub harder. Move to the next section for surface-specific solutions.
The Right Tool for Your Surface
The key to damage-free cleaning is matching your method to your material. What works on a glossy tile could strip the sheen from a laminate floor. Here’s how to tackle rubber marks on wall removal and black scuff marks floor cleaning safely.
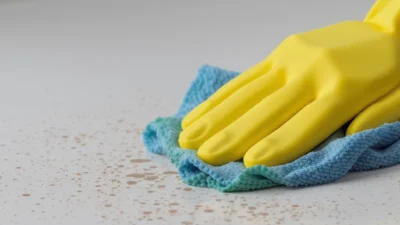
Photo by Артем Дворецкий on Pexels
Painted Walls
For most painted walls, a magic eraser (melamine foam) is incredibly effective. Dampen it slightly, wring it out completely, and gently buff the mark. It works like a super-fine sandpaper, so always test first on a hidden area, as it can dull high-gloss paints.
Wallpaper (Vinyl or Washable)
A damp microfiber cloth with a drop of dish soap is your safest bet. Wring the cloth until it’s just damp, not wet, and gently wipe. Avoid magic erasers here, as they can damage the wallpaper’s printed surface.
Hardwood & Laminate Floors
Start with the pencil eraser. If that fails, use a barely damp cloth with a tiny amount of hardwood floor cleaner or a 50/50 mix of water and white vinegar. Wipe gently and dry immediately with a separate cloth to prevent water damage.
Vinyl, Linoleum & Tile
These resilient surfaces can handle slightly more. A baking soda paste (baking soda mixed with a little water) or a drop of dish soap in warm water on a microfiber cloth works well. For textured tile grout, a soft-bristled brush can help dislodge the rubber.
Remember: This is general guidance for common household surfaces. If you’re unsure about a specialty finish, testing is non-negotiable.
Common Mistakes That Cause Damage
In the rush to erase shoe marks from a wall, it’s easy to make a problem worse. Avoid these common pitfalls to keep your surfaces looking new.
Do:
- Do test your cleaner in an inconspicuous spot every single time.
- Do rinse the area with a clean, damp cloth after using any cleaning solution to remove residue.
- Do dry the surface thoroughly with a separate dry cloth, especially on wood floors.
- Do use gentle, circular motions instead of harsh scrubbing.
Don’t:
- Don’t use abrasive scrub pads or steel wool on glossy finishes, laminate, or hardwood—they will leave permanent scratches.
- Don’t soak wooden floors or let liquid pool; water is wood’s enemy.
- Don’t use harsh solvents like acetone or nail polish remover on painted walls or vinyl floors without explicit confirmation they are safe; they can strip finishes instantly.
- Don’t skip the spot test. It’s the five seconds that saves you from a costly repair.
When Stubborn Scuffs Won’t Budge
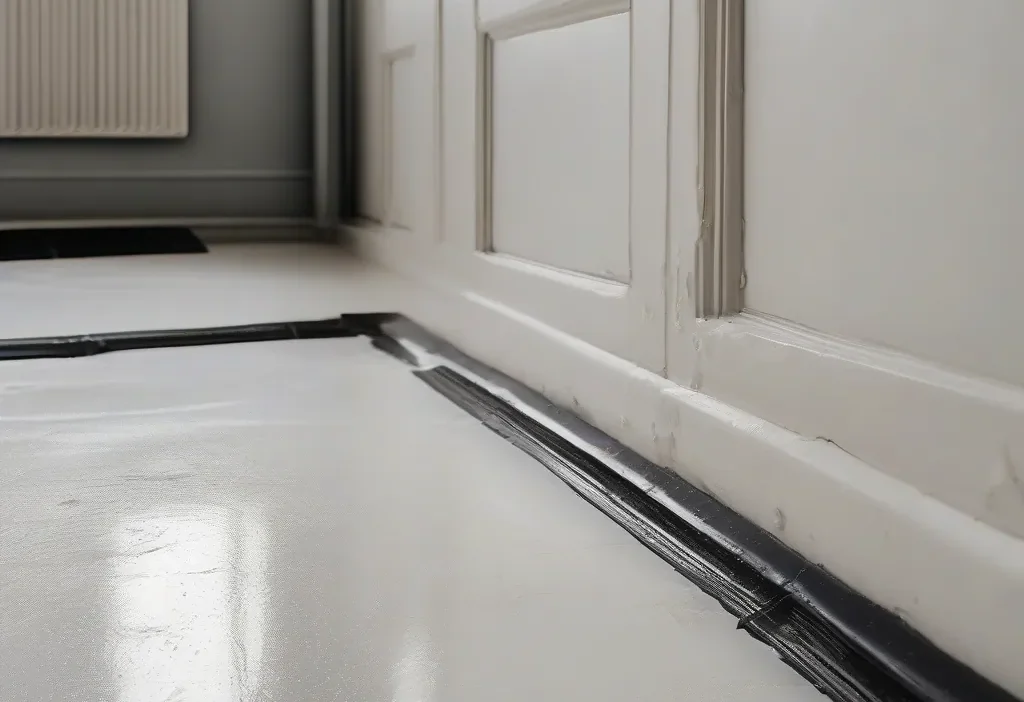
For the vast majority of marks, the methods above will work. But what about that one ground-in sneaker scuff that seems welded to the baseboard? Don’t panic. You have a few more safe options before calling in a pro.
For non-porous surfaces like ceramic tile, sealed countertops, or some vinyl floors, isopropyl alcohol (rubbing alcohol) can be effective. Apply a small amount to a clean cloth and dab (don’t pour) it onto the mark, then wipe. It evaporates quickly, minimizing moisture risk, but can dull some plastics, so test first.
A specialized, non-abrasive goo remover (like Goo Gone) is formulated for adhesive residues and can break down tough rubber transfers. Apply sparingly, let it sit for a minute as directed, then wipe clean. Always follow with soap and water to remove any oily residue.
If a scuff on a painted surface has actually removed the paint layer (rather than just depositing rubber), cleaning won’t help. In this case, a tiny touch-up with matching paint is the final solution. Keep a small sample of your wall paint for these minor emergencies.
Reassuringly, 99% of rubber scuff marks are just a deposit on the surface and are completely removable with patience and the right gentle approach.
You’ve Got This Under Control
Discovering black rubber scuffs on a clean surface is frustrating, but it’s a problem with a simple, safe solution. The core principle is to start with the gentlest physical method—the humble pencil eraser—and only escalate to mild cleaners if necessary. By matching your method to your surface and always performing a quick spot test, you can eliminate these marks without a trace of damage.
Remember, the goal is to remove the mark, not the finish. With a bit of patience and the straightforward steps outlined here, your walls and floors can look pristine again. So next time you see a scuff, take a breath, grab that eraser, and tackle it with confidence.
To put this into practice, check Plastic, Rubber & Specialty Surface Stains.