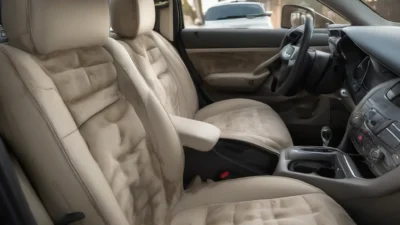
You see it in the afternoon sun—a telltale glint on the passenger seat where a rogue french fry landed, or a greasy smear from a hastily unwrapped breakfast sandwich. That sinking feeling is universal: a fresh grease or food stain on your car’s upholstery feels like a permanent mark. But here’s the immediate relief: oily residues are among the most treatable stains, provided you act with the right strategy. The critical mistake isn’t the spill itself; it’s using the wrong cleanup method in a panic. Success hinges on two simple rules: act fast to prevent setting, and always match your cleaning tactic to your car’s interior material, whether it’s durable cloth or delicate leather. This guide cuts through the confusion, giving you a clear, actionable protocol to lift that oily residue and restore your seats.
The best way to remove grease stains from car upholstery is to first identify the material (cloth vs. leather), then blot up excess oil, apply a targeted degreaser like dish soap solution or a dedicated automotive cleaner, gently agitate, and thoroughly extract the residue with clean water. Always test cleaners in an inconspicuous area first to prevent damage.
First Response: What to Do (and Not Do) in the First 5 Minutes
Photo by Mehmet Ali Turan on Pexels
Speed is your greatest ally when you spot a fresh grease spot or a new food stain on your car seat. The right moves in the first few minutes can make the entire cleaning process easier, while the wrong ones can turn a small spot into a permanent, greasy shadow.
DO:
- Blot, don’t rub. Immediately grab a clean, dry, absorbent cloth (paper towels or a white microfiber are ideal) and press down firmly on the stain. The goal is to soak up as much of the surface oil or food residue as possible before it sinks deeper into the fabric or leather pores.
- Identify the material. Before you grab any cleaner, confirm if your seat is cloth/fabric or leather/vinyl. The wrong cleaner can cause serious damage.
- Scrape gently. For semi-solid food stains (like cheese, mayo, or frosting), use the dull edge of a butter knife or a credit card to gently lift off the bulk of the material without grinding it in.
DON’T:
- Pour water on it. Water and fresh oil don’t mix; you’ll just spread the oily residue car fabric and drive it deeper.
- Scrub in a panic. Vigorous rubbing grinds the grease particles into the fibers, fraying the fabric and setting the stain.
- Reach for a random household spray. Window cleaner, all-purpose sprays, or bleach can set dyes and break down protective coatings on leather, making the problem much worse.
Your Cleaning Protocol: Choose by Upholstery Type
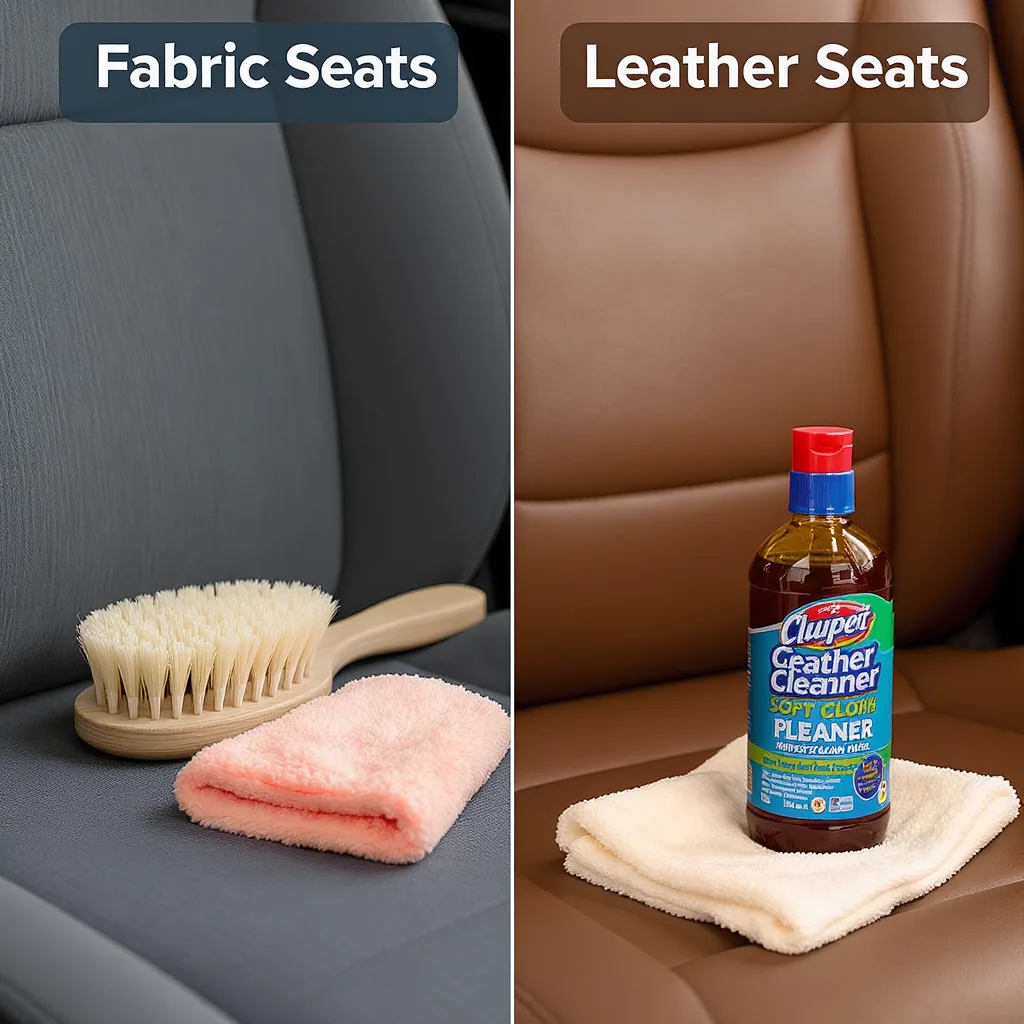
This is your core playbook. The single most important factor for success is using the right method for your car’s interior material. Here are two clear protocols.
For Fabric and Cloth Seats
Fabric seats are porous, so grease gets trapped in the fibers. Your mission is to break down the oil, suspend it, and lift it out completely.
Supplies Needed: Liquid dish soap (like Dawn or Palmolive), warm water, two clean microfiber cloths or a soft-bristled brush, a small bowl, and a dry towel.
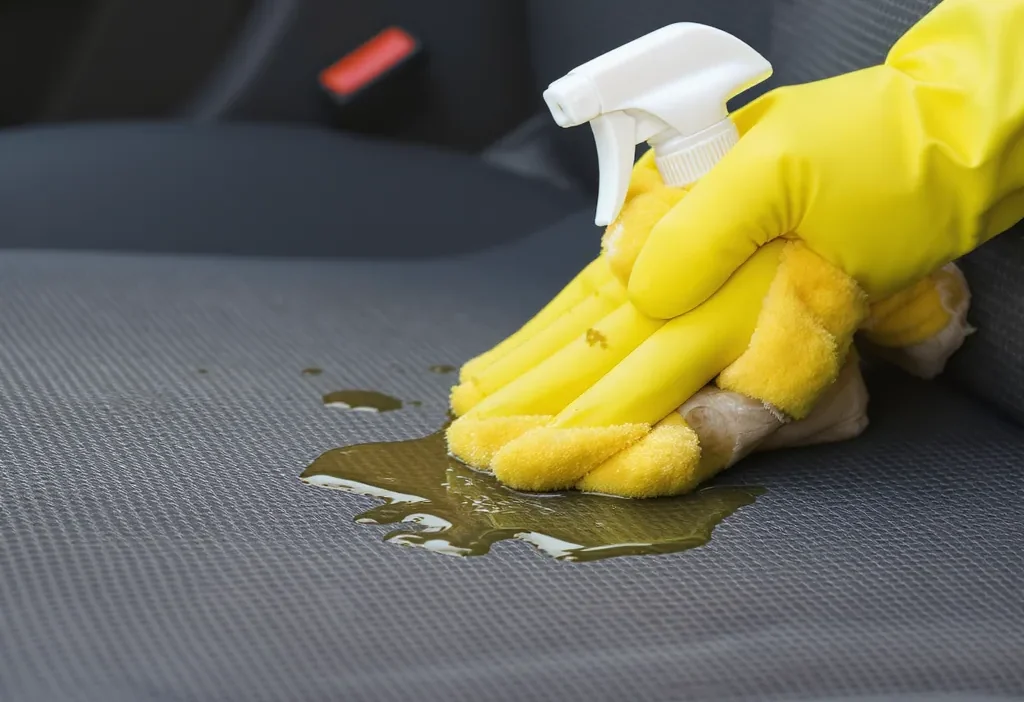
- Test & Mix. Test your cleaner on a hidden spot (like under the seat). Mix a few drops of dish soap into a bowl of warm water to create a sudsy solution. The soap is a degreaser designed to cut through oil.
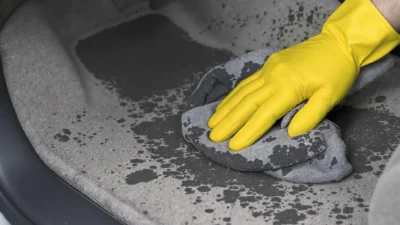
- Apply & Agitate. Dip a cloth into the suds (not the soapy water) and gently dab it onto the food stain car seat cleaning area. Using a circular motion with the cloth or a soft brush, lightly agitate the solution into the stain to break the bond between the grease and the fabric.
- The Critical Rinse. This step is often skipped, leading to a sticky, dirt-attracting residue. Dampen a second, clean cloth with plain water and blot the area repeatedly to rinse out the soap. You may need to rinse the cloth several times.
- Dry Thoroughly. Blot the area as dry as possible with a dry towel. Leave windows cracked to allow for air circulation and prevent mildew.
For Leather and Vinyl Seats
Leather and vinyl have non-porous surfaces, but grease can sit in the grain and degrade the material if not cleaned properly. Harsh chemicals are a major risk.
Supplies Needed: A dedicated leather cleaner or a very mild soap solution, two soft microfiber cloths, and a leather conditioner (for after cleaning).
- Test & Initial Wipe. Always test your cleaner on an inconspicuous area. Start by wiping the entire seat surface with a dry cloth to remove any loose crumbs or grit that could scratch.
- Clean Gently. Apply a small amount of leather cleaner or a very diluted soap solution to a microfiber cloth—never directly onto the seat. Wipe the oily spot with gentle, overlapping strokes. For lifting oily residue from car interior leather, patience and gentle pressure work better than force.
- Remove All Residue. Immediately use a second, damp cloth to wipe away any cleaning solution. No cleaner should be left to dry on the surface.
- Condition. Once completely dry, apply a thin layer of leather conditioner with a clean cloth to restore moisture and protection. This helps prevent future stains from setting as easily.
Stubborn or Set-In Stains: Escalating Your Tactics
Sometimes, an old french fry stain or a long-ignored dribble of dressing needs more firepower. If the basic protocol didn’t fully get oil stains out of your car upholstery, it’s time to escalate carefully.
For fabric seats, you can try a stronger degreaser like a dedicated automotive all-purpose cleaner (APC), diluted as directed. Spray it on, let it dwell for 3-5 minutes to penetrate, then agitate and rinse thoroughly. For set-in grease, a baking soda paste (baking soda mixed with a little water) can help absorb residual oil. Apply it, let it dry completely, then vacuum it up.
The most effective tool for deep-set fabric stains is a portable upholstery extractor (you can rent these). It injects cleaning solution and simultaneously vacuums it back out, pulling grease from deep within the foam. A handheld steam cleaner can also help by loosening old residues with heat, but you must be careful not to over-wet the fabric.
For leather, never use aggressive household chemicals. Instead, invest in a high-quality leather cleaner/conditioner combo designed for automotive use. If the stain persists, it may be time to consult a professional detailer, as DIY mistakes on leather can be very costly to fix.
Manage your expectations: very old, dark stains may lighten but not disappear completely. The goal is to make them far less noticeable and stop them from attracting more dirt.
Common Mistakes That Ruin Upholstery
Knowing what not to do is just as important as knowing the right steps. Avoid these pitfalls that can turn a simple cleaning job into a permanent upholstery disaster.
- Using Bleach or Ammonia on Colored Fabric: These harsh chemicals can strip color and weaken fibers, leaving you with a faded, discolored patch that’s more obvious than the original stain.
- Over-Wetting Leather: Soaking leather can cause it to crack, warp, or lead to mold growth underneath the surface. Always use a damp cloth, not a wet one, and dry the area immediately.
- Scrubbing Fabric Into a Frayed Mess: Aggressive scrubbing, especially with a stiff brush, breaks and mats the fibers. This creates a permanent rough spot that will always look dirty and feel unpleasant.
- Using Heat to Dry a Stain: Pointing a hair dryer or heater at a fresh stain can “cook” the oils and proteins into the material, setting them permanently. Always allow for air drying.
- Skipping the Rinse Step: Leaving soap or cleaner residue behind attracts dirt like a magnet, guaranteeing the stain will reappear—often darker—within days. This is the most common reason people think a stain “came back.”
Keep Your Car Clean (and Stain-Free) Going Forward
The core principle for tackling any car mess is simple: act fast and match your method to the material. Whether it’s a fresh coffee spill or an old grease spot, that approach gives you the best shot at a clean interior.
An ounce of prevention, however, is the real secret. Consider using fitted seat covers, especially if you have kids or a busy commute. Be mindful of food packaging—that seemingly secure lid can pop off on a sharp turn. Finally, keep a small emergency kit in your glove box: a few microfiber cloths, a travel-sized bottle of dish soap, and a bottle of water. A quick blot and dab at the next rest stop can save you a major cleaning session later.
Your car’s interior doesn’t have to be a casualty of daily life. With the right knowledge and a few simple supplies, you can keep it looking fresh and welcoming for the long haul.