You’ve just spotted a fresh, slick mark on your favorite shirt—a splash of salad dressing, a smear of foundation, or a greasy fingerprint. Your first instinct is probably to grab soap and run it under hot water, a move that feels intuitively correct. Here’s the counterintuitive truth: for grease and makeup stains on clothes, that common reflex is often the worst thing you can do. Heat can set oily residues and cosmetic pigments deeper into the fabric weave, turning a simple cleanup into a permanent blemish. This guide cuts through the folklore, offering a clear, diagnostic approach to three notoriously tricky stain families. We’ll separate the proven protocols from the pervasive myths, so you can stop guessing and start effectively removing oily, greasy, and cosmetic marks for good.
To successfully remove grease and makeup stains on clothes, correct diagnosis is your most powerful tool. Pure oils and greases require a degreasing agent like dish soap, while makeup demands breaking down its complex blend of waxes, oils, and pigments with a targeted pre-treatment. The universal rules are to always blot (never rub) the stain from the outside in to avoid spreading, and to avoid hot water or the dryer until the stain is completely gone, as heat will set it permanently.
Why Your Usual Stain Removal Playbook Fails Here
Before we dive into solutions, we need to clear the deck of well-meaning but ineffective advice. The standard approach for many stains—soap and hot water—can be the worst first move for the stains we’re tackling. Let’s reset your strategy by debunking three persistent myths.
Myth 1: Hot Water Melts and Lifts Grease
Fact: Hot water can permanently set an oily stain by bonding it to the fabric fibers. Heat liquefies the grease, allowing it to be driven deeper into the material. Your goal is to lift the oil out, not melt it in. Cold water is your initial ally, as it keeps the stain from setting further.
Myth 2: Vigorous Rubbing Gets It Out Faster
Fact: Rubbing is a spreading mechanism, not a cleaning one. The friction grinds the stain particles deeper into the fabric weave and can damage delicate fibers. The correct technique is to blot from the outside in, applying gentle pressure to absorb the contaminant without pushing it around.
Myth 3: All Makeup Stains Are Treated the Same
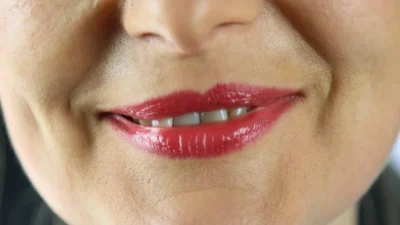
Fact: Makeup is a complex cocktail of oils, waxes, pigments, and silicones. A lipstick stain (heavy in wax and pigment) requires a completely different approach than a liquid foundation stain (oil and pigment). Treating them identically is why one method works sometimes and fails others.
A quick but crucial note: Understanding these principles is the foundation of effective oily stain removal from fabric. Always check the garment’s care label first—this guide assumes washable fabrics unless noted.
The Quick Diagnostic Triage: Oil vs. Grease vs. Makeup
Effective cleanup starts with a quick, accurate diagnosis. Here’s how to tell what you’re dealing with in the first 30 seconds. This visual and tactile assessment will direct you to the correct protocol.
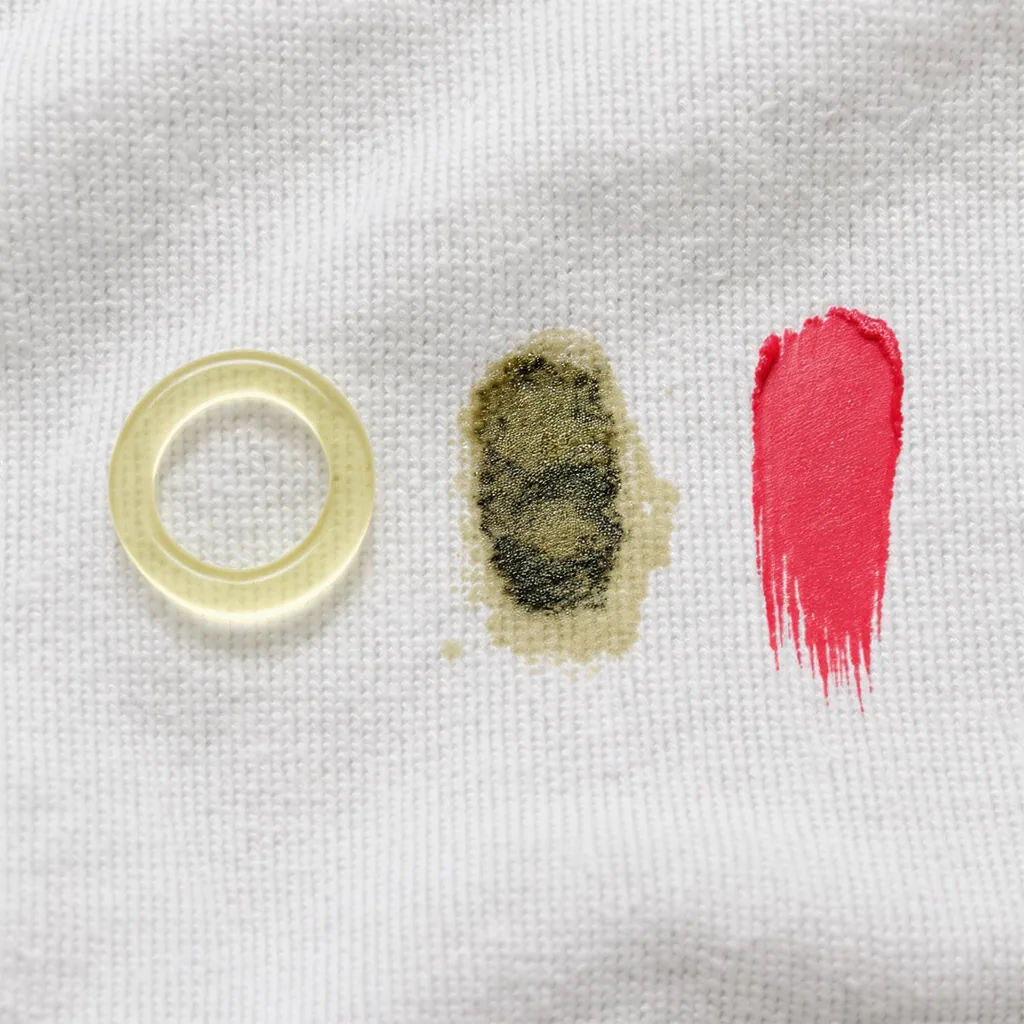
Pure Oil Stains (Cooking Oil, Salad Dressing)
Clues: Often translucent or lightly colored, leaving a “wet” looking ring. The texture is slick and smooth to the touch. It hasn’t absorbed dirt or particles. Source is typically kitchen-related.
Grease Stains (Automotive, Machinery, Food Grease)
Clues: Darker in color (brown, black, gray) and often appears “gritty” because it’s mixed with dirt, carbon, or metal particles. The texture is thicker and more paste-like than pure oil. Think burger grease on a shirt or a mark from a bicycle chain.
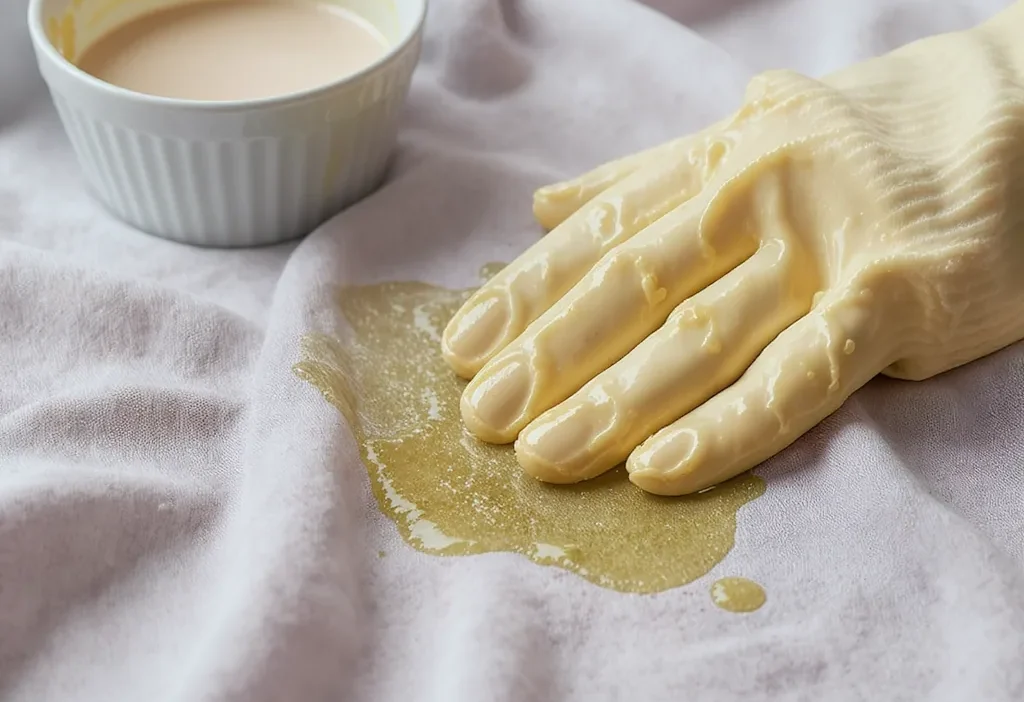
Cosmetic Stains (Makeup)
Clues: Defined by color and composition. Lipstick & Cream Blush: Waxy, bright, and can feel stiff. Foundation & Concealer: Oily or creamy, skin-toned, and can seep into fibers. Mascara & Eyeliner: Waterproof formulas are oil-based and tenacious; non-waterproof may be easier. This cosmetic stain cleaning guide starts with identifying which component—wax, oil, or pigment—is dominant.
Your Stain-Specific Cleanup Toolkit & Protocols
With your diagnosis in hand, apply the targeted protocol below. These methods are designed to break down the specific chemistry of each stain type before you ever put the garment in the washer.
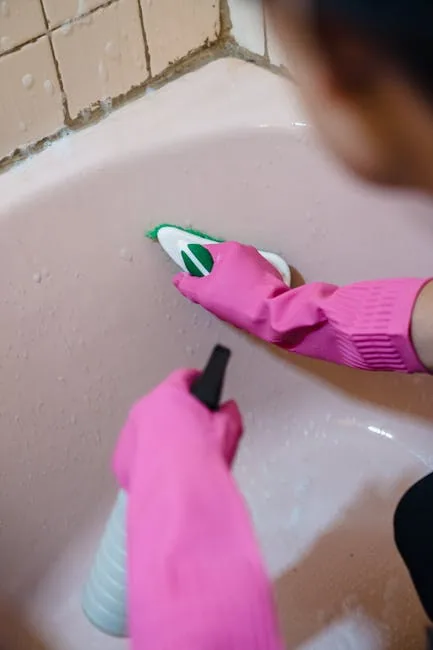
Photo by Liliana Drew on Pexels
Protocol for Oil & Grease Stains
The core principle: use a degreaser. Liquid dish soap (like Dawn, Palmolive, etc.) is formulated to cut through oil and is perfect for this.
- Blot & Scrape: Use a dull knife or spoon to gently scrape off any excess solid grease. Blot liquids with a clean, absorbent cloth.
- Apply Degreaser: Apply a small drop of clear dish soap directly to the stain. Gently work it in with your finger or a soft brush, covering the entire affected area. Let it sit for 5-15 minutes. The soap will emulsify the oil, turning it into a washable solution.
- Rinse & Check: Rinse thoroughly from the back of the fabric with cold water. If the stain is gone, launder as usual. If a faint mark remains, create a paste of baking soda and water, apply it, let it dry, then brush it off before washing. The baking soda helps absorb residual oils.
Protocol for Makeup Stains
The strategy: break down the stain’s components. You’ll often need a two-pronged attack.
- Pre-Treat with Makeup Remover: For waxy lipstick or heavy foundation, apply a small amount of oil-based makeup remover or micellar water to a cotton pad and dab at the stain. This starts to dissolve the oils and waxes. For non-greasy, pigment-based stains, a pre-wash stain remover stick or spray can be effective.
- Follow with Detergent: After the makeup remover has broken the stain down, apply liquid laundry detergent directly to the spot. Rub the fabric edges together to work it in. Let it sit for at least 10 minutes.
- Wash in Cool Water: Wash the garment alone or with similar colors using the coolest water setting safe for the fabric. Heat can set any remaining pigment. Always air-dry until you are certain the stain is gone, as dryer heat will set any residue permanently.
The Pro’s Quick-Kit
For the best results on mixed or stubborn stains, having these items on hand turns a crisis into a quick fix:
- Clear Dish Soap: Your go-to degreaser for pure oil and food grease.
- Pre-Wash Stain Remover (Spray or Stick): Excellent for pigment-based cosmetic spills and set-in stains.
- Isopropyl Alcohol (70%+): A powerful solvent for ink and some stubborn synthetic oils; test on a hidden seam first.
- White Vinegar: Helps neutralize odors and can break down some residue after the oil is gone; not a primary stain remover for grease.
- Enzyme-based Laundry Detergent: Useful for old, set-in stains where biological material may also be present.
The Most Costly Missteps (And How to Avoid Them)
Even with the right tools, technique is everything. Here are the most common errors that turn a treatable spot into a permanent flaw, and how to correct your course.
DON’T: Apply heat (hot water, dryer, iron) before the stain is 100% gone.
DO: Use cold water for rinsing and initial treatment. Always air-dry to check your work.
DON’T: Rub the stain vigorously, especially on delicate fabrics.
DO: Blot patiently from the edges inward to contain the spill.
DON’T: Pour laundry detergent directly on a dry, oily stain and throw it in the wash.
DO: Pre-treat with a dedicated degreaser (dish soap) or stain remover first. Laundry detergent is for washing, not spot-treating grease.
DON’T: Assume “soap” is universal. Bar soap or body wash can leave a filmy residue.
DO: Use clear liquid dish soap for oils/grease and dedicated products for makeup stain treatment.
DON’T: Give up and put a stained garment in the dryer “just to see.”
DO: Be patient. Some stains require multiple treatment cycles. The dryer is the final seal—only use it after victory is confirmed.
When Home Remedies Aren’t Enough: The Professional Path
Despite your best efforts, some stains win. Knowing when to call in a professional saves time, money, and your favorite garment. Seek out a reputable dry cleaner when:
- The stain is old, set-in, and has already been through a hot dryer.
- The fabric is delicate, valuable, or has a “dry clean only” label (e.g., silk, wool, suede, structured blazers).
- The stain’s origin is unknown, making diagnosis risky.
- You’ve attempted removal and the stain has only faded or changed color, indicating a complex chemical reaction.
When you take an item to the cleaner, be their best informant. Point out the exact stain location and, if possible, identify what caused it (“This is avocado oil from last Tuesday”). This gives them a critical head start. For more on the science and standards of professional cleaning, organizations like the Drycleaning & Laundry Institute offer valuable resources.
Master Your Next Stain Emergency
Conquering greasy fabric stains and cosmetic spills isn’t about having a magic potion; it’s about applying the right science to the right problem. You now have the framework: pause to diagnose, then execute the specific protocol for that stain family. Remember, your most powerful tools are cold water, patience, and the discipline to avoid the dryer until you’re sure.
View the next stain not as a disaster, but as a solvable puzzle. With this diagnostic approach, you’re no longer hoping for the best—you’re executing a proven plan. Keep your simple toolkit handy, and you can tackle most of these messes with confidence, preserving your clothes and your peace of mind.
Core Diagnostic Framework: Quickly identify the stain. Is it a pure oil (slick, translucent), a grease (dark, gritty), or a cosmetic (waxy or creamy, colored)? Your first action depends entirely on this.
Stain-Specific First Actions:
For Oils & Grease: Blot, then apply clear dish soap as a degreaser. Let sit, rinse with cold water.
For Makeup: Dab with makeup remover for wax/oil, then apply liquid laundry detergent. Let sit before washing in cool water.
Universal Rules: Always blot, don’t rub. Use cold water first to prevent setting. Never apply heat (dryer/iron) until the stain is completely gone. Check fabric care labels before starting any treatment.