You peel off that price tag, warranty sticker, or your kid’s favorite decal, feeling a brief moment of victory. Then you see it: the stubborn, gummy shadow left behind. That sticky residue on plastic or metal isn’t just an eyesore; it’s a puzzle. The real question isn’t just how to remove it, but whether you’re dealing with simple adhesive goo or if you’ve already crossed the line into permanent surface damage. Using the wrong method can turn a minor cleanup into a major headache, leaving a prized laptop lid clouded or a car window trim scratched. This guide cuts through the frustration by giving you a clear, material-based framework. We’ll help you instantly decide whether you need a gentle touch or a more assertive solvent, ensuring you can confidently tackle that mess without the fear of ruining what’s underneath.
To safely remove sticker residue, first identify your surface: plastic requires gentle methods like cooking oil or isopropyl alcohol, while metal can handle stronger solvents like Goo Gone. Always test in a hidden area first to distinguish removable adhesive from permanent surface damage like clouding or etching. The core rule is that true “residue” will dissolve or lift away with the right cleaner, while “damage” involves a lasting change to the surface’s texture or appearance.
The First Decision: Plastic or Metal?
Before you grab a bottle of the strongest sticky residue remover you can find, stop. Your very first step isn’t about the goo—it’s about the surface underneath. This single decision dictates your entire strategy and risk level.
Plastic is the more delicate of the two. Many common solvents can chemically react with plastics, causing them to cloud, craze, or even soften and melt. Your goal here is preservation first, cleaning second. Think of items like children’s toys, storage bins, appliance housings, or electronics.
Metal, on the other hand, is generally more resilient. It can typically withstand stronger chemicals and more aggressive mechanical action. This includes surfaces like tool handles, filing cabinets, car parts, and kitchen sinks. However, there’s a massive caveat: painted, coated, or anodized metal. Treat these surfaces like plastic, as the finish is what’s vulnerable, not the metal beneath.
The universal rule, regardless of material, is to test your chosen method in a small, hidden area first. This 30-second test is your best defense against turning a simple cleanup into a permanent repair project.
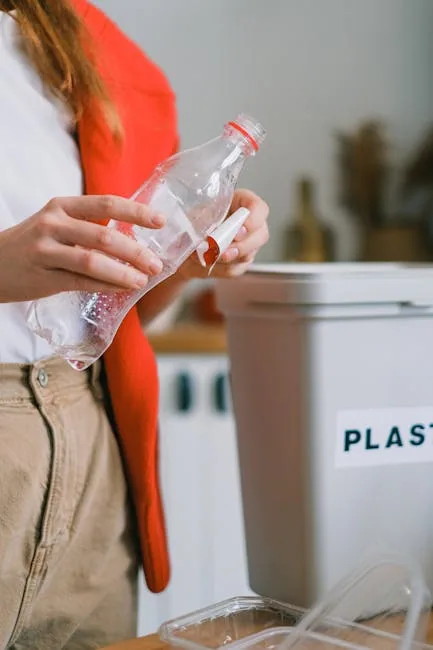
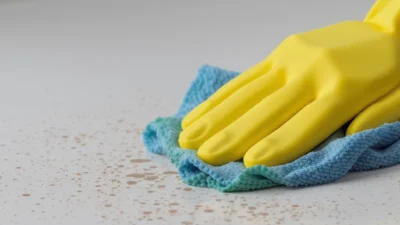
Photo by SHVETS production on Pexels
Residue Removal for Plastic: The Gentle Approach
When your mission is to remove sticker residue from plastic, patience and a light touch win the race. Always start with the mildest method and work your way up only if needed.
What to Do (The Gentle Hierarchy)
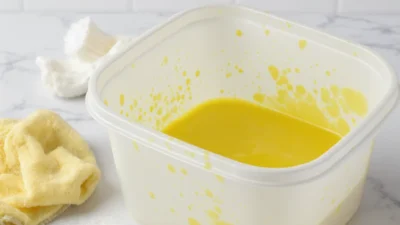
1. Mechanical, Then Oily: First, try gently picking at the residue with a fingernail or a soft plastic scraper (like an old gift card). If it’s stubborn, apply a household oil—cooking oil, baby oil, or mayonnaise—and let it soak for 5-10 minutes. The oil breaks the adhesive bond, allowing you to wipe the gunk away with a soft cloth and mild soap.
2. The Alcohol Step: For residue that laughs at oil, isopropyl alcohol (70% concentration or less) is often the next safe bet. Dampen a cloth and rub in a circular motion. It evaporates quickly, minimizing the risk of damaging the plastic.
3. Commercial Removers (With Caution): Products like Goo Gone or Un-Du are formulated as adhesive remover for surfaces. They are effective but still contain solvents. Apply sparingly, let sit for only a minute, and rinse thoroughly.
What NOT to Do
- Do NOT use acetone or nail polish remover. These are notorious for melting, clouding, or crazing many plastics.
- Do NOT use abrasive scouring pads or steel wool. They will scratch and dull the surface permanently.
- Avoid excessive heat from a hairdryer, as it can warp thin plastic.
- Do not scrub aggressively with paper towels, which can be surprisingly abrasive.
Residue Removal for Metal: When You Can Be More Assertive
For bare, uncoated metal, you have more tools in your arsenal. The process for adhesive residue metal cleaning can be more direct, but you must still confirm the metal type.
For Bare, Uncoated Metal
You can safely use stronger solvents here. Rubbing alcohol is a great start. For tougher jobs, a spritz of WD-40, a dedicated sticky residue remover like Goo Gone, or even a small amount of acetone on a cloth can work wonders. For flat surfaces, a single-edge razor blade held at a shallow angle can safely scrape off large patches of glue. (This technique also works beautifully on glass).
The Critical Exception: Coated Metal
This is where most people get into trouble. If your metal is painted, powder-coated, anodized (like many water bottles), or has a brushed nickel finish, the coating is just a thin plastic-like layer. Immediately revert to the “plastic” rules. Use oils or alcohol, and avoid acetone and razor blades, which will strip the finish right off. When in doubt, assume it’s coated and start gentle.
Residue vs. Surface Damage: How to Tell the Difference
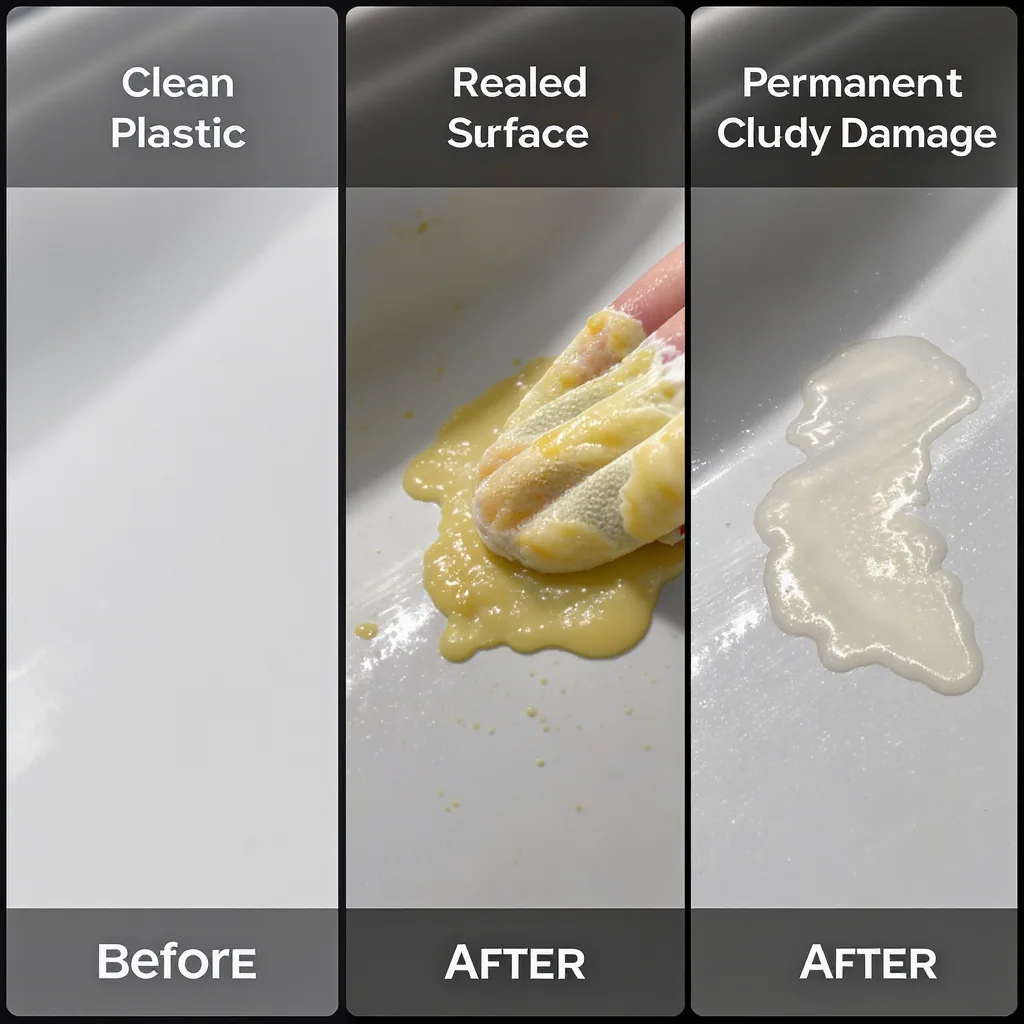
This is the core diagnostic moment. After attempting a gentle clean, you need to interpret what’s left behind. Is it still just residue, or have you crossed into damage?
True Residue is the adhesive itself. It feels gummy or tacky. It may smear when you rub it. Crucially, it will dissolve, soften, or lift when the correct solvent (oil, alcohol, etc.) is applied. If you can make it disappear with cleaning, it was just residue.
Surface Damage is a change to the material itself. On plastic, this most often appears as a permanent cloudy, whitened, or “frosted” area where the sticker was. The texture might feel slightly etched or rougher. On coated metal, damage looks like a spot where the paint or coating has been lifted, revealing the bare metal underneath or creating a dull patch.
The Simple Test: Apply a gentle solvent (like isopropyl alcohol) to a clean cloth and rub the affected area. If the mark transfers onto the cloth or dissolves, it’s residue. If the mark remains completely unchanged on the surface, you are likely looking at permanent damage. This distinction is key to knowing when to stop cleaning and start considering repair or replacement.
Common Mistakes to Avoid
Even with the best intentions, it’s easy to make a problem worse. Steer clear of these frequent errors:
- Using Acetone on Plastic: This is the number one way to ruin a plastic item. It chemically melts many types of plastic, causing immediate clouding or melting.
- Scratching with Abrasives: Using a rough sponge or scouring pad on clear plastic or glossy metal creates a network of fine scratches that you cannot polish out.
- Treating All Metal the Same: Assuming your glossy refrigerator door or colorful tool is “just metal” and attacking it with a razor blade or strong solvent will strip the finish.
- Impatience with Heat: While a little heat can soften adhesive, holding a heat gun or hairdryer too close for too long can warp plastic or damage sensitive electronics beneath a label.
You’ve Got This: A Clear Path Forward
Dealing with sticky leftovers doesn’t have to end in regret. By following the simple decision tree—identify your surface, start with the gentlest method, and always test first—you equip yourself to handle the vast majority of these annoyances safely. Remember, most sticky situations are just residue, and residue is removable with the right, patient approach. If you do encounter true surface damage, you now know it wasn’t your cleaning that caused it, but a limitation of the material itself. Armed with this knowledge, you can tackle that next sticker, price tag, or decal with confidence, not fear.
For a plain-language explanation, see Plastic, Rubber & Specialty Surface Stains.